
Even more
valhallagames
content!
Latest Podcast![]()
Latest Video![]()
4646 Hits
0 Comments
4646 Hits
Even more
valhallagames
content!
Latest Podcast![]()
Latest Video![]()
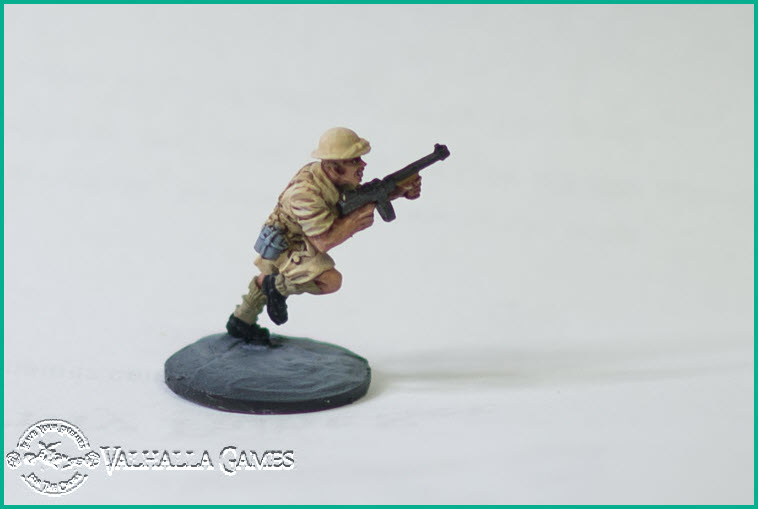
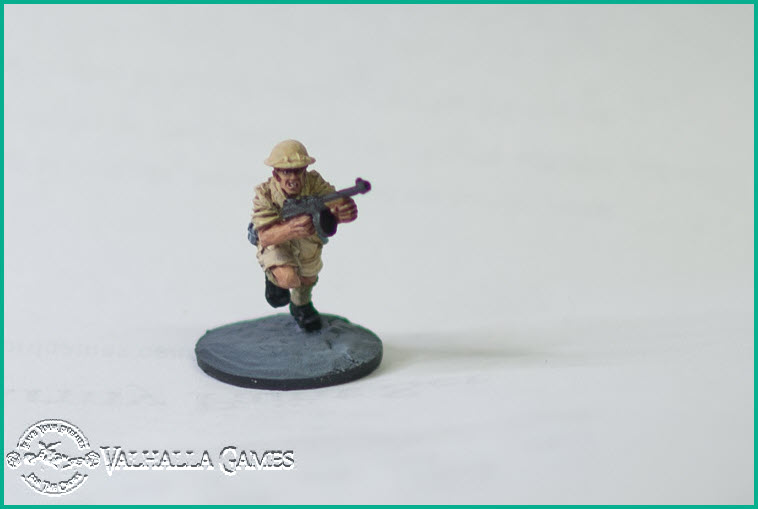
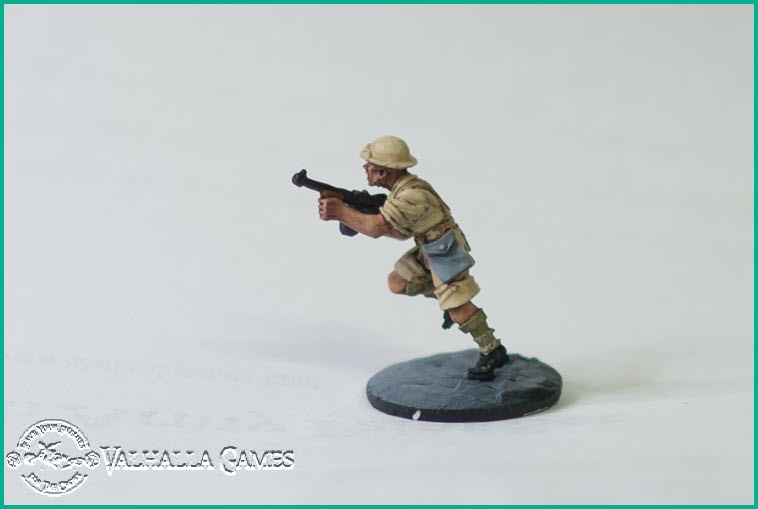
The next project, 28mm British 8th Army by Warlord games. Some quick images... Waiting for paints to arrive for the next step... Comment and subscribe to this *post* to get updates on this project.
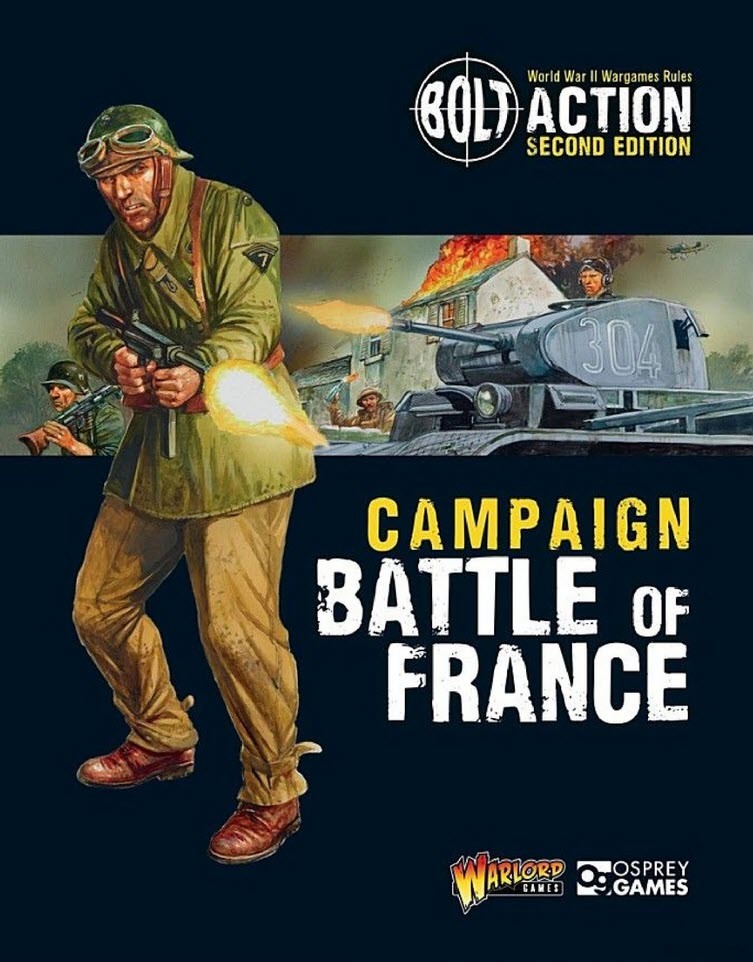
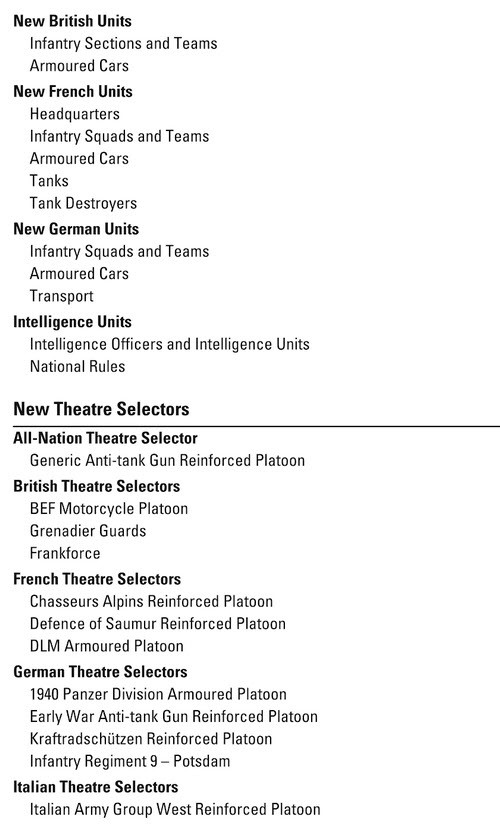
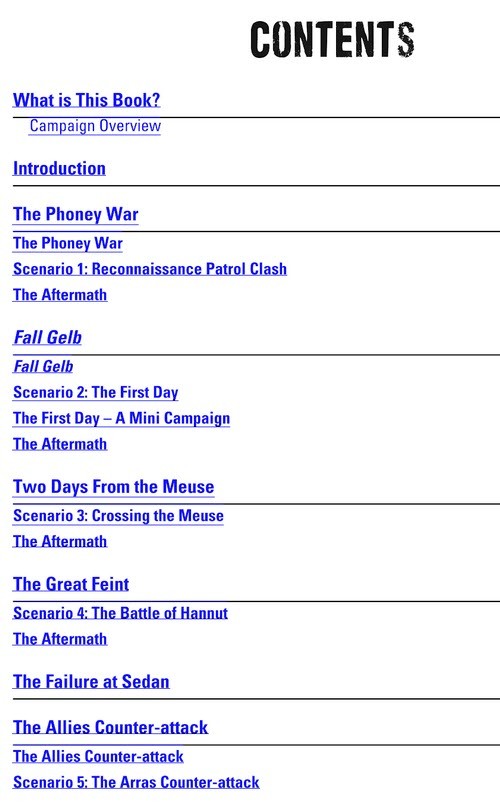
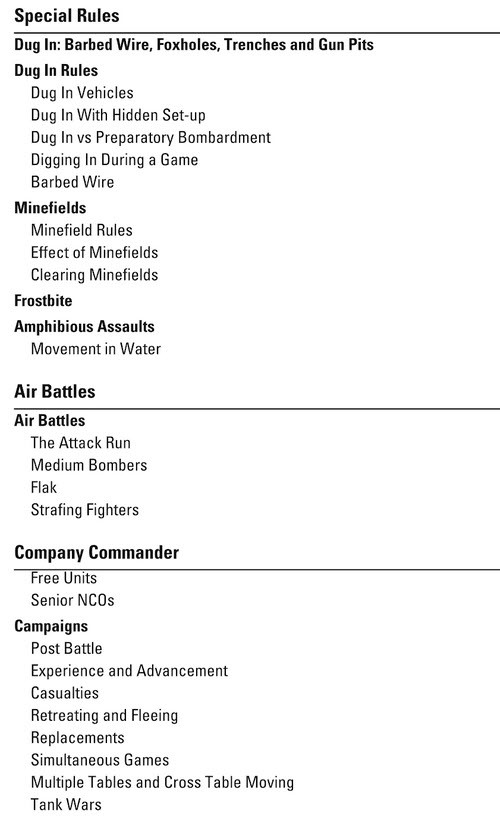
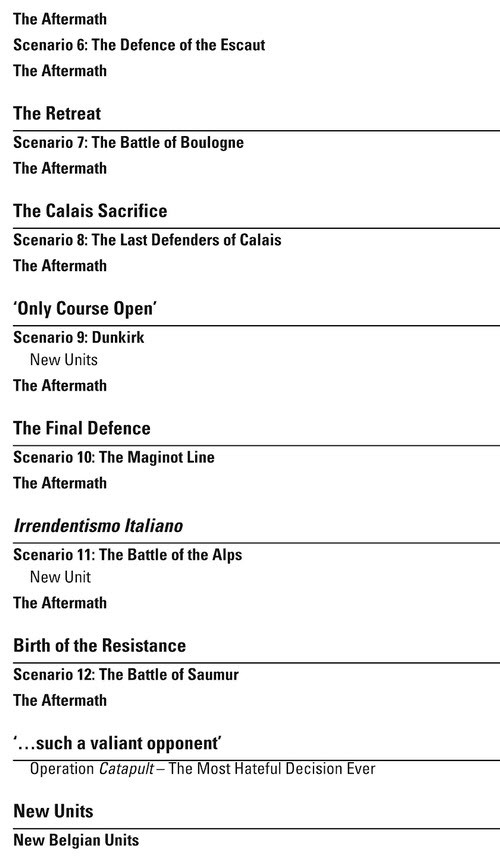
Battle For France - New Bolt Action Campaign book. Available for pre-order now on various sites and probably at your local games store, due out 29 Nov 2018, see below for table of contents page preview.
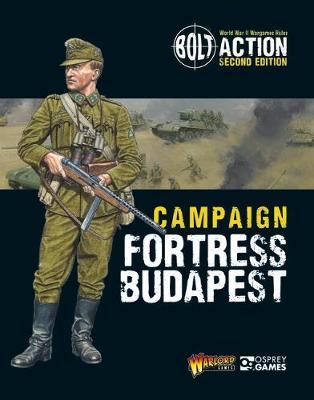
Fortress Budapest - New Bolt Action Campaign book, Pre-order now on various sites, due out 21 Mar 2019 (or so they say)
No further details that I have found.
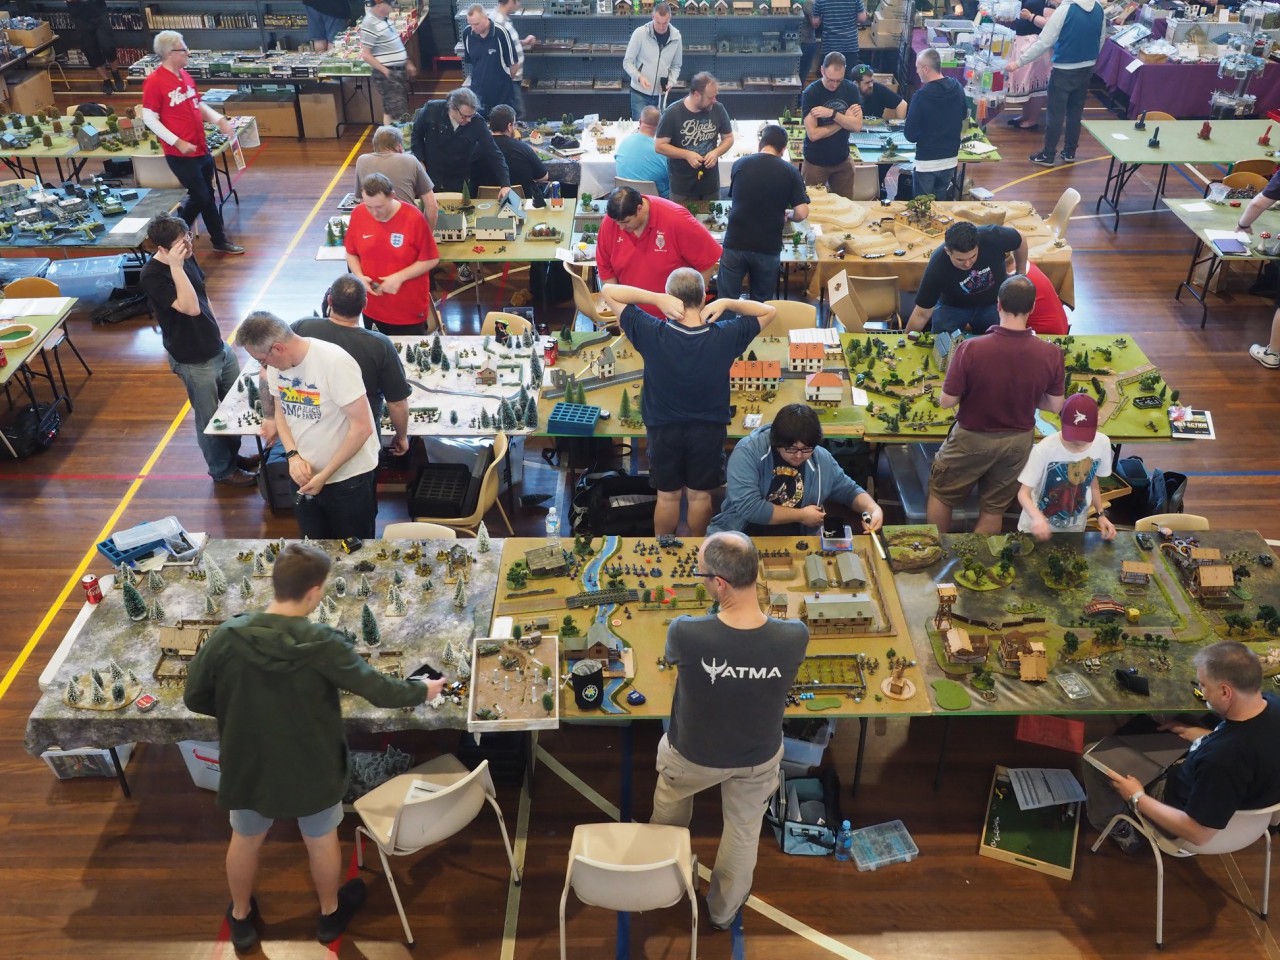
Bolt Action tournament/event at MOAB in Sydney October 2018, the last game...
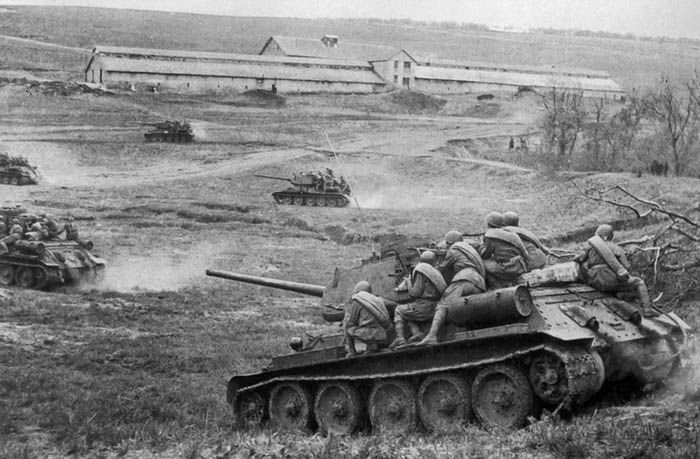
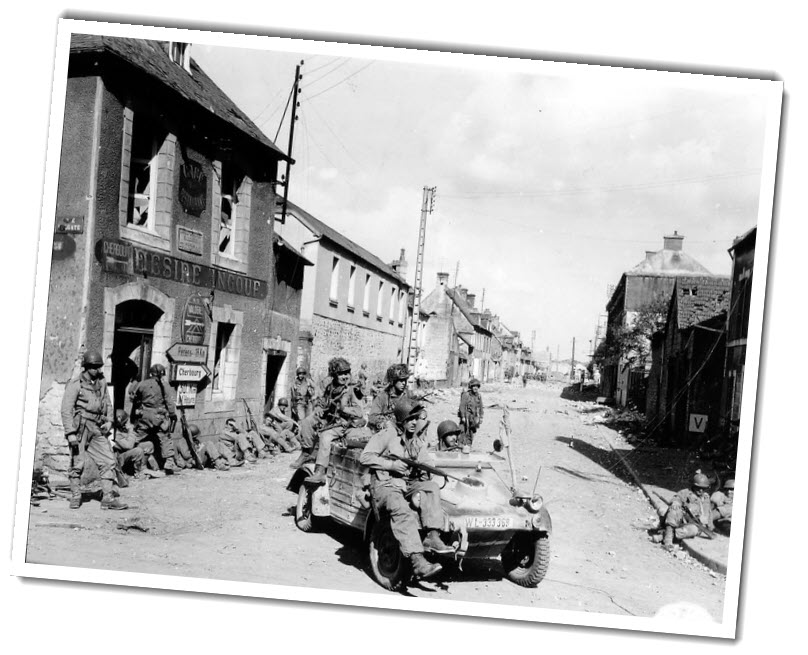
Tank riders. Doesn't seam like a great place to take shelter to me, being that other tanks will be shooting at these tanks but what do I know.
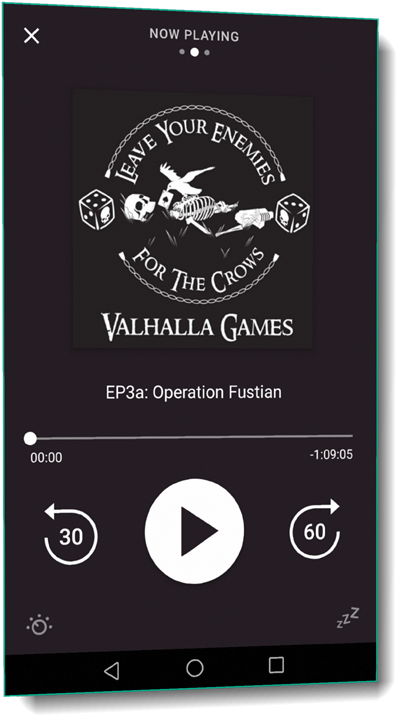
Podcast EP3 (parts a & b) are live now: Operation Fustian & The Battle for Primosole Bridge, this should appear in your podcast app if you have subscribed (Search for valhallagames podcast in your app) or you can click on the image below for a web player (for part 1).
Battle for Primosole Bridge reference material can be found here
Episode 3a:
In this episode, the first of a two part history-to-wargame special, we discuss the build up for a key WW2 operation in Sicily, 1943.
Operation Fustian was the British airborne operation to seize and Hold Primosole Bridge, a strategically important gateway to the Catania Plain and vital for the advance of the Allies and the success of the Sicilian campaign.
Facing the British paratroopers were their deadly adversaries; the veteran German airborne troops of the 1st Fallshirmjager Division.....
Episode 3b:
We return- in this, the second installment of a two part history-to wargame special- to Sicily 1943 and the Battle for Primosole Bridge.
This second part continues the story of the bloody fight for the control of the bridge between the British and German paratroopers.
We also discuss some wargaming ideas around this historical action and how you, like us!, can get some ideas to play this as a scenario in your WW2 wargames.
Enjoy, and your feedback is always welcome.
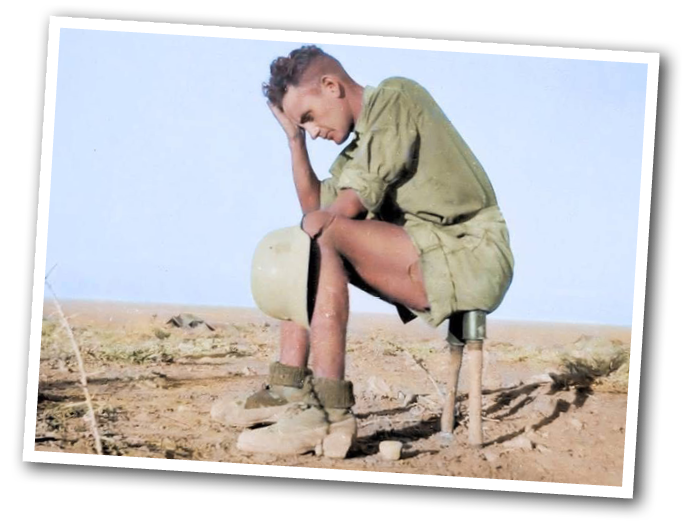
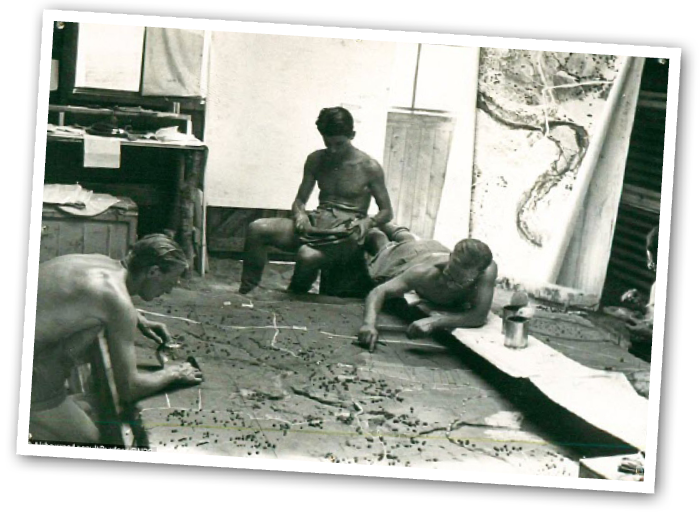
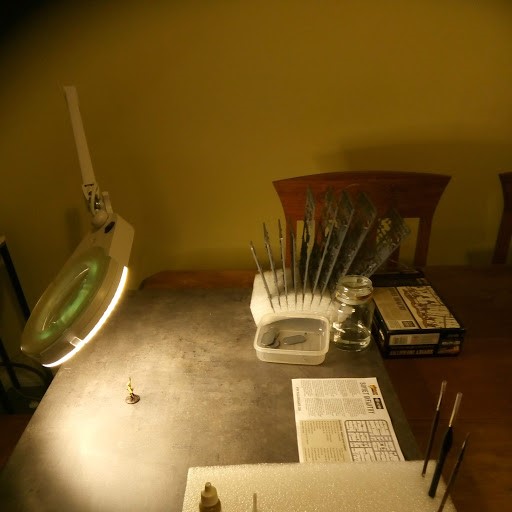
Preparing a model for Operation Fustian planning. Don't know what Operation Fustian was? Watch this space...
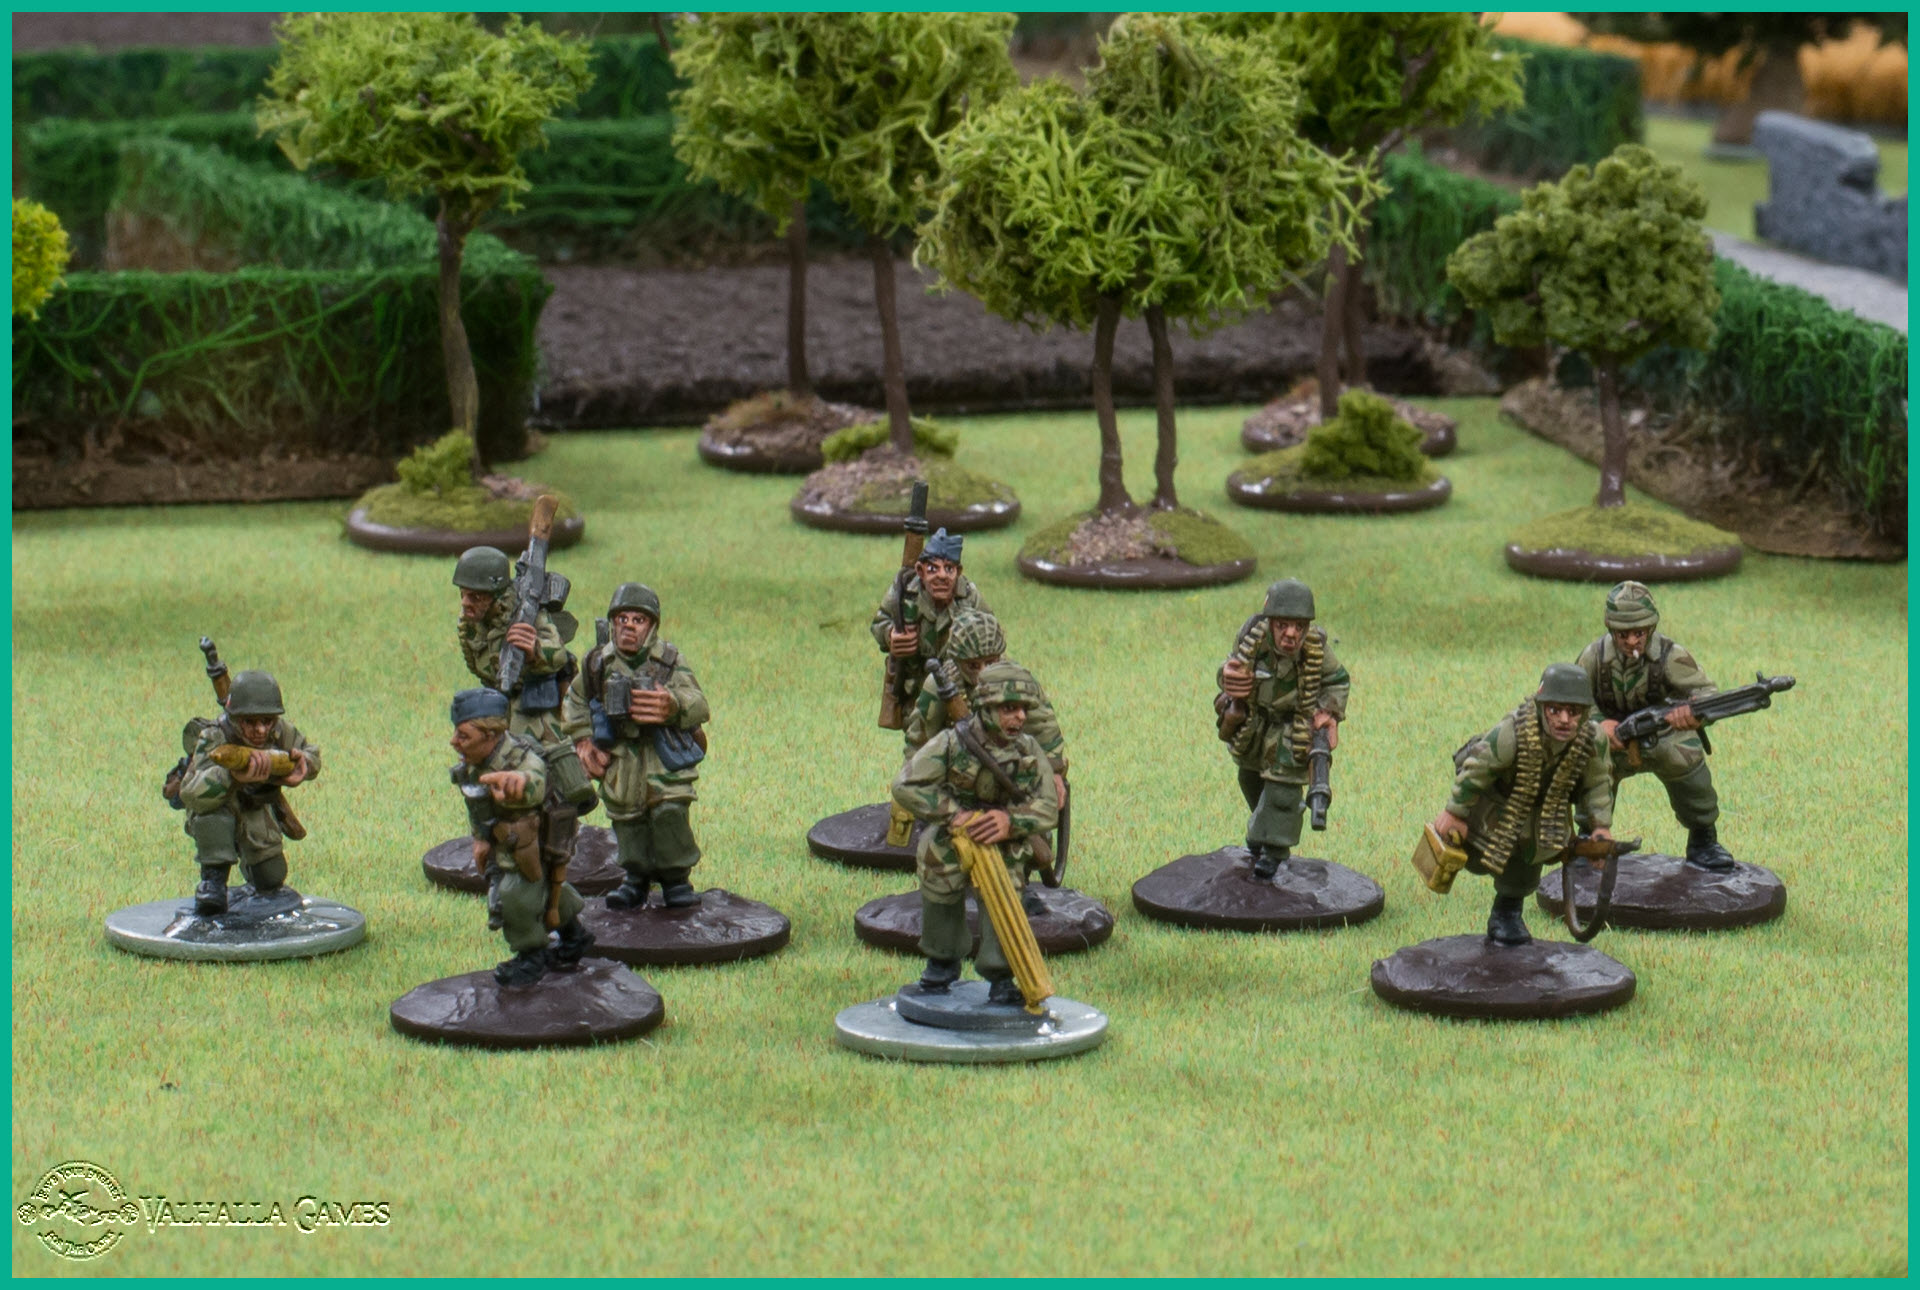
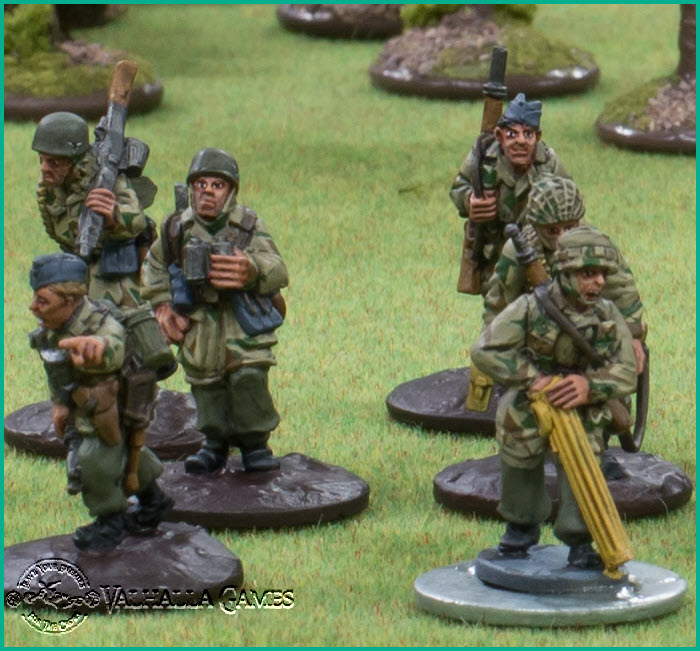
Here is the latest installment of my Bolt Action Fallschirmjager. Finished except for basing this is a quick look there were 12 in total. Unlike my current Panzer IV project I'm pretty happy with these guys. How would you like to see a squad of those coming out of the orchard towards you? Thanks Dan for the super secret face paining recipes, I'll do some close ups when I have a chance so you can see the stubble.
I have something to say about camo and washes at 28mm scale that I have learned along the way. To get the detail on that "comment" on this post and that will subscribe you to further updates on *this post*. That way I can just go on and on about it without generating extra main posts (and notifications) on the web site for others that may not be interested in this specific topic. This takes advantage of the web sites ability to subscribe to the whole site vs. the ability to subscribe just to updates (comments really) on a single blog post. And keeps all the updates and comments together.
I hope you like them, miniatures from Warlord Games and Artizan Designs (the chunky ones).
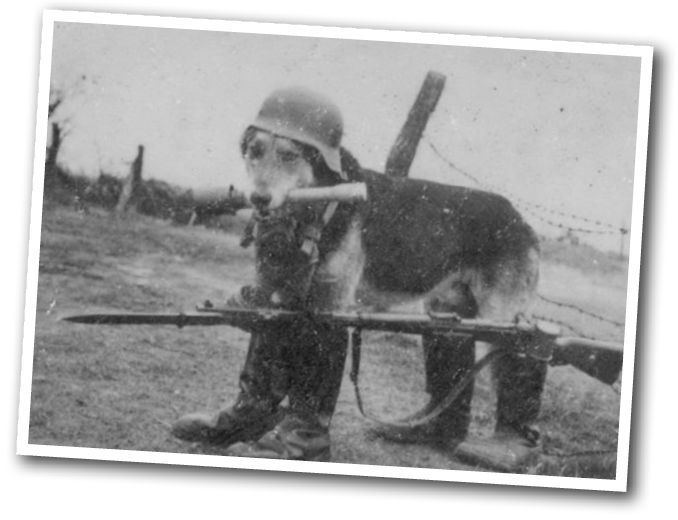
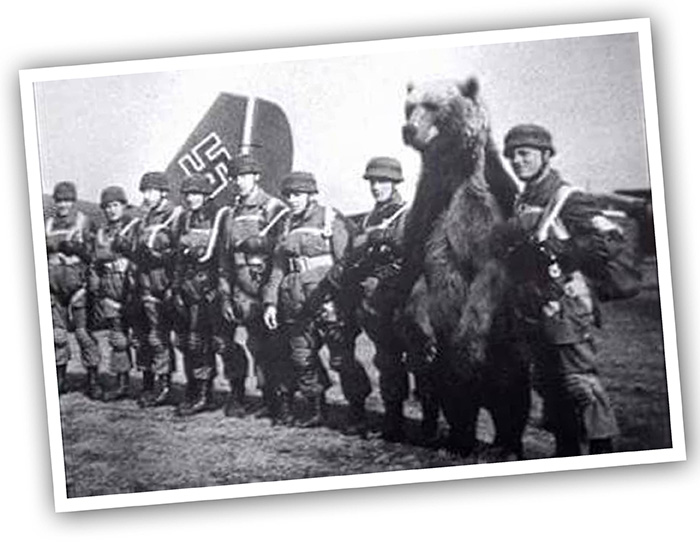
Friday Photo - the Fallschirmjager bear as discussed in a recent podcast episode. I'm taking this to my next tournament! If anyone knows the story behind this photo we would be keen to hear it.
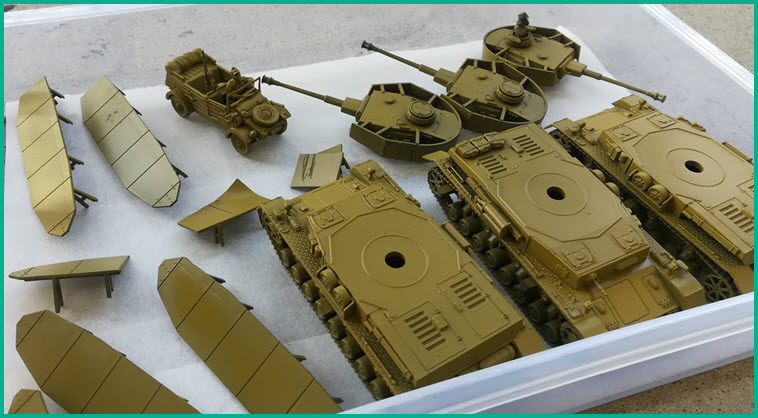
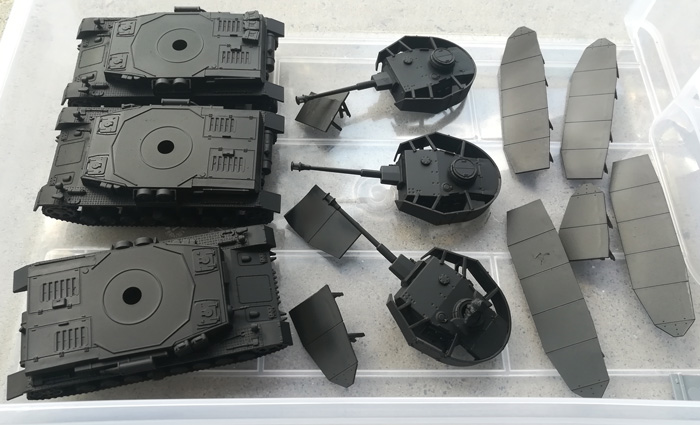
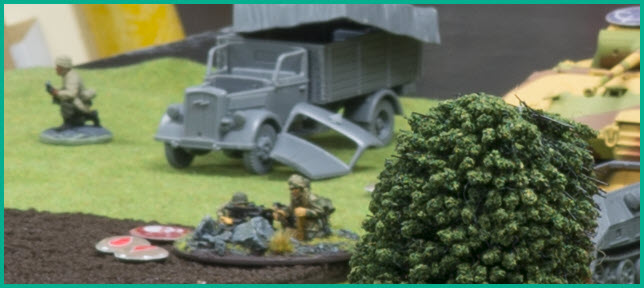
Work in progress on the latest batch of vehicles
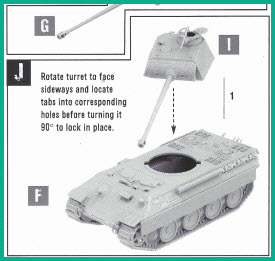
As far as I can see there is no comprehensive Miniature Assembly guides/Construction diagrams storage for Bolt Action on the warlord games site. There is this page: http://www.warlordgames.com/category/assembly-diagrams/ but its very limited. As I find/purchase/locate the guides I will upload them here for everyone. You can also access the downloads link from the site menu.
If anyone has some or wants to scan some and send them to me they can do so at rex@this_sites_domain_name.net (PDF preferred but Ill take anything)
In the meantime if anyone has a guide to putting together the Kubelwagen please let me know. (sad face)
The downloads:
https://www.valhallagames.net/index.php/downloads/category/2-assembly-guides
Friday photo (yes i'm late)
28mm Panzer IV's ready for base coat, I love my airbrush!
Time to get back into D&D? (note because I don't want to break the internet due to posting too much this, and not all posts won't (shouldn't) get emailed out)
Bolt action Campaign: The Western Desert first look in this flip though video. Spoiler alert there is lots of sand and everything is yellow, start repainting those tanks now!
Click on the image below to see it at full size, it's quite large and might take a while to load...

...once the image has loaded in a new window or tab you should be able to zoom or pinch to zoom to see the detail. I'm experimenting to see what can be achieved depth of field wise. Depth of field is what is in focus in the photo, not always the entire image front to back will be in focus, and with miniatures sometimes not very much at all!
It's not bad!, I'm pretty happy (for a test shot) its the best table shot I have ever taken, below are some samples at 100% taken from the photo in the link above (not a zoomed in separate photo). As you can see its "soft" at both ends but it's better than most photos I have seen of boards in terms of full-depth-focus. I can also do better just need to move things around a bit in the wargaming room. Also bear in mind that this photo is *longways* on the table so what you are seeing is a full 6' table "mostly" in focus front to back.
What's the most important thing I have learned during this exercise? The better your photography becomes the more you get a boot up the backside to get the miniatures painted(!!). Seriously though we will talk about miniature photography in an upcoming podcast episode.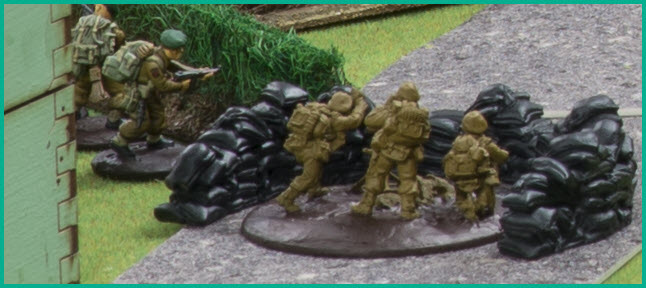
The latetst podcast episode is live now. This should appear in your podcast app if you have subscribed (Search for valhallagames podcast in your app) or you can listen on web player (link below).
Podcast EP24: A chat with Jon Russell.
In this bumper episode, we are joined by Jon Russell of Warlord Games fame. In addition to his dedicated work for Warlord, Jon is a multifaceted wargamer and also veteran of many years service.
In this episode we spend time learning about Jon's wargaming pedigree, before learning more about his role at Warlord, the writing of 'Bolt Action: Korea', and Jon shares with us what he can about what Bolt Action V3 might look like, and the 'Raiders Attack!' Supplement that still has much life left in it.
All this plus Warlord event support, balance in tournaments and other definitely non-controversial(!), highly entertaining and informative topics. Sit back and enjoy a chat with Jon, and us, we hope you enjoy it as much as we did.
Subscribe in your favourite podcast app (search for valhallagames) or click here to listen in the web player.
Don't forget to check out the YouTube channel at https://valhallagames.net/youtube
...and don't forget if you would like to support us https://valhallagames.net/patron