


Even more
valhallagames
content!
Latest Podcast![]()
Latest Video![]()
3991 Hits
2 Comments
3991 Hits
Even more
valhallagames
content!
Latest Podcast![]()
Latest Video![]()
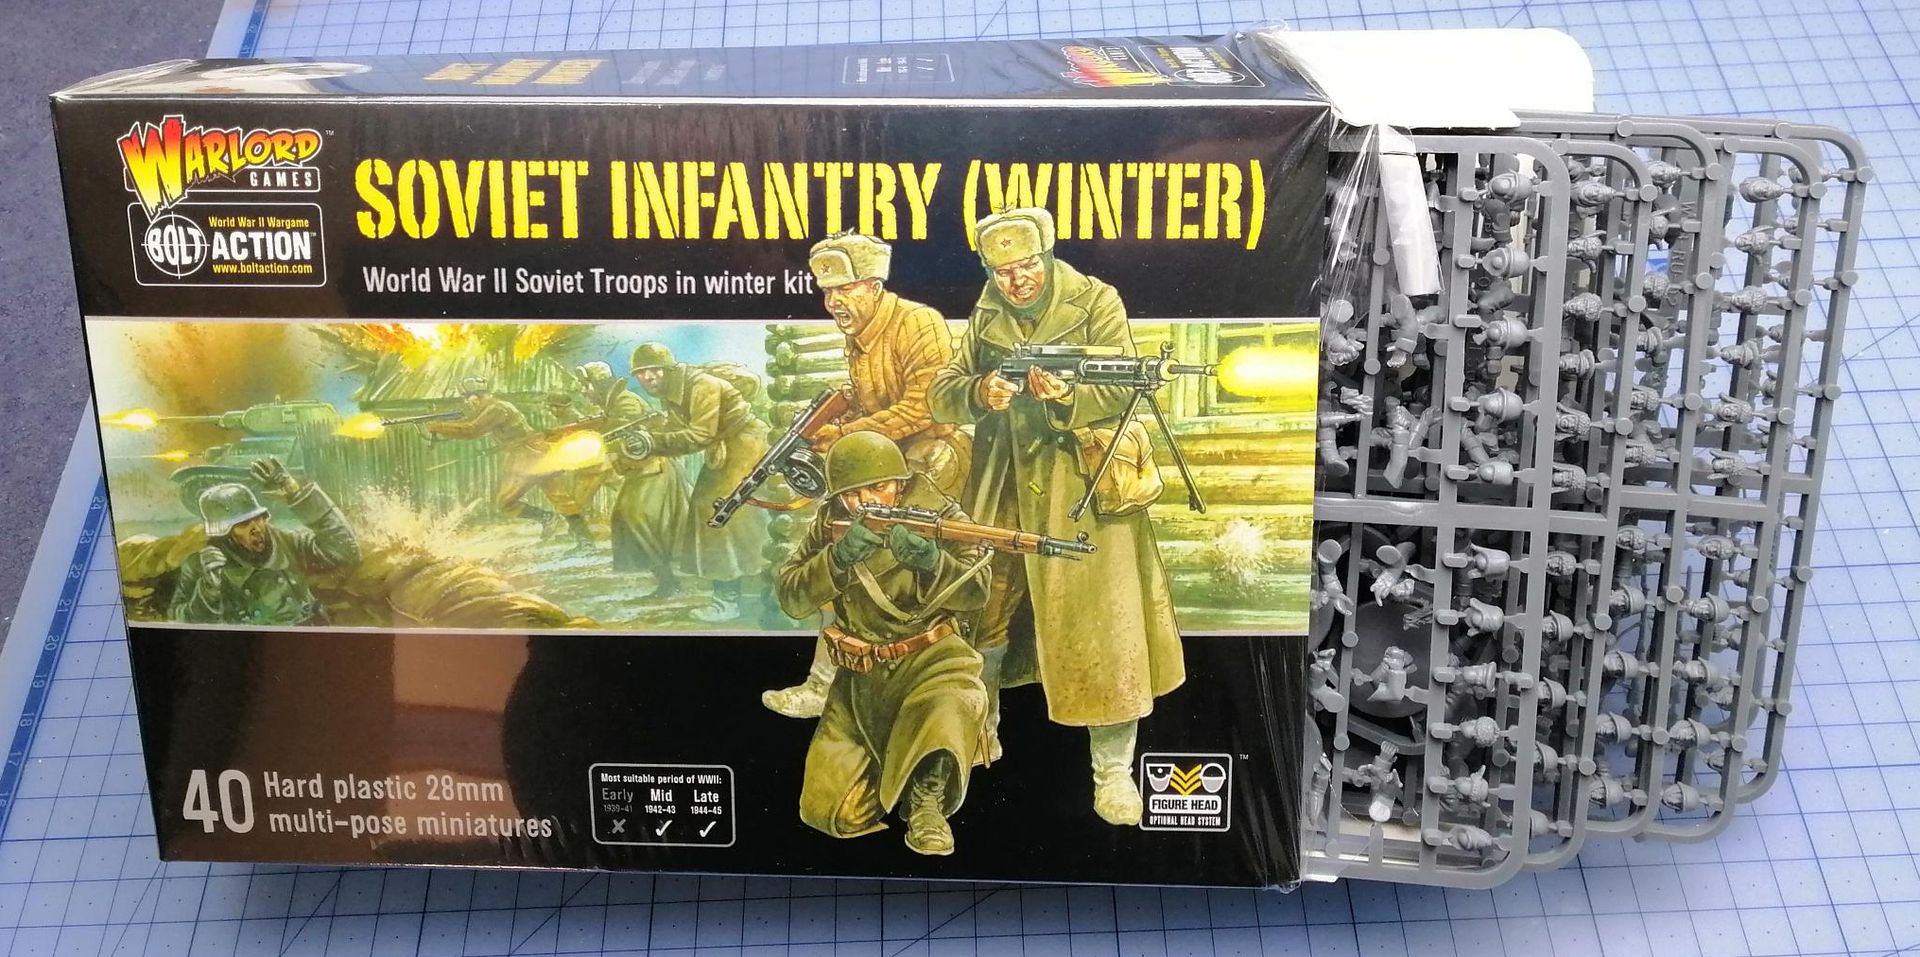
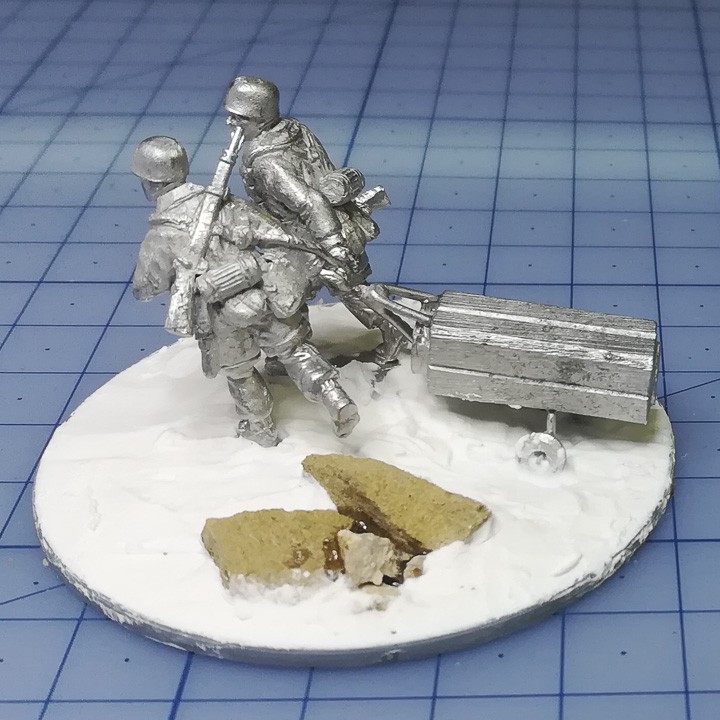
I just purchased the beginnings of a new army. Imagine my surprise when I opened the box and "some assembly plus painting is required" :-)
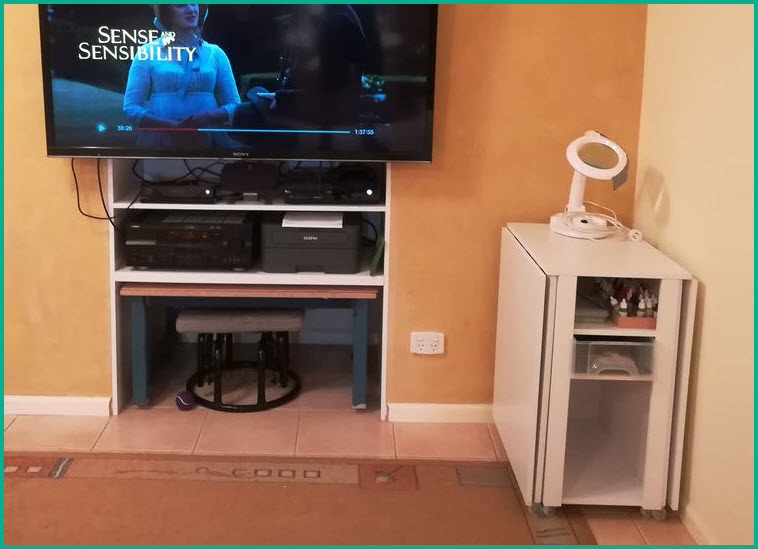
I have a new hobby/painting table which I purchased from Aldi Australia today and assembled this evening.
It starts the evening in Downton abbey/Sense and Sensibility mode but later in the evening after everyone has gone to bed it transforms into Saving Private Ryan/WWII in colour mode.
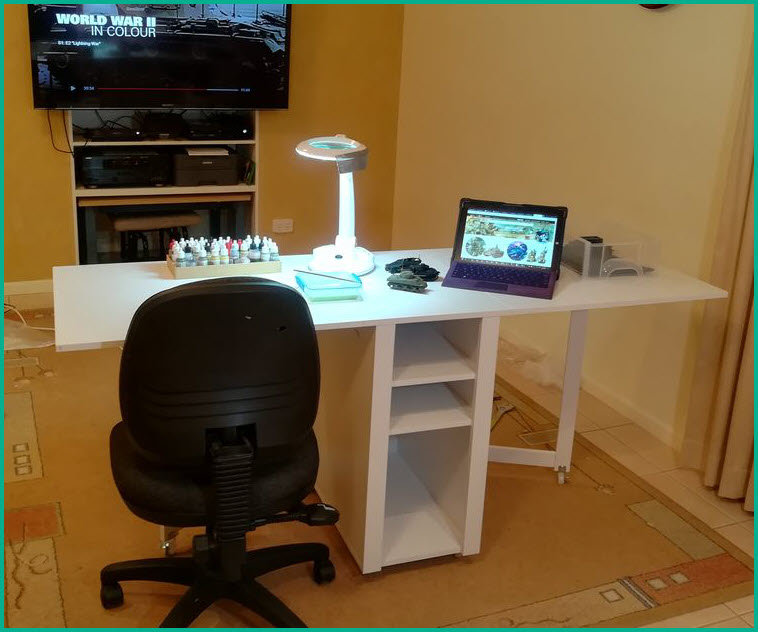
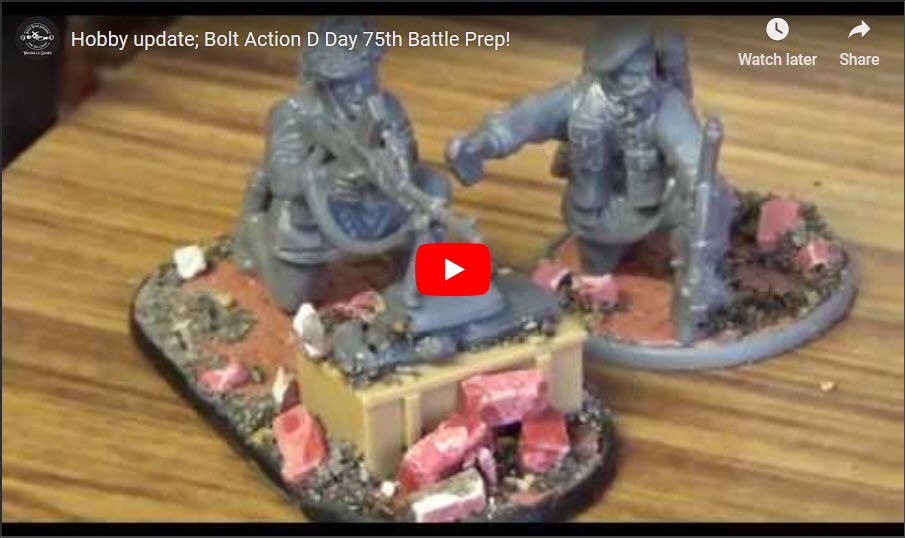
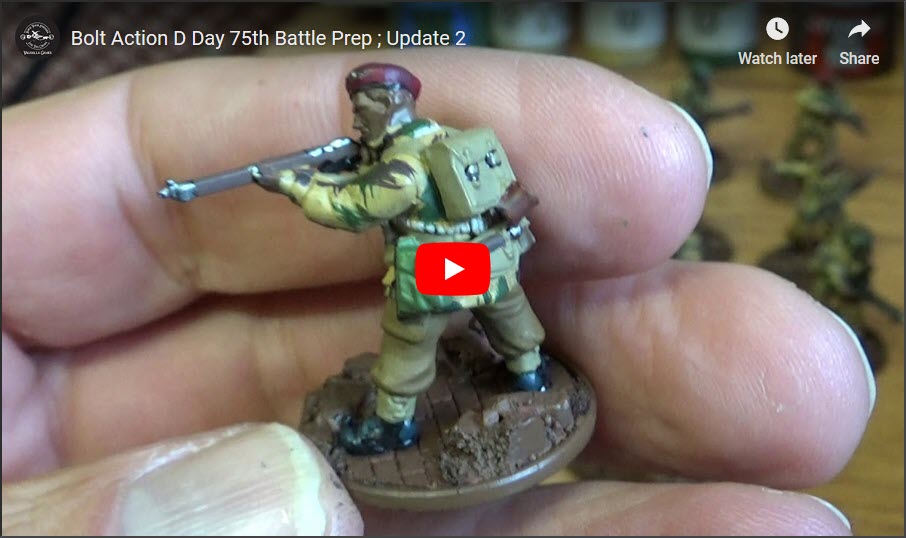
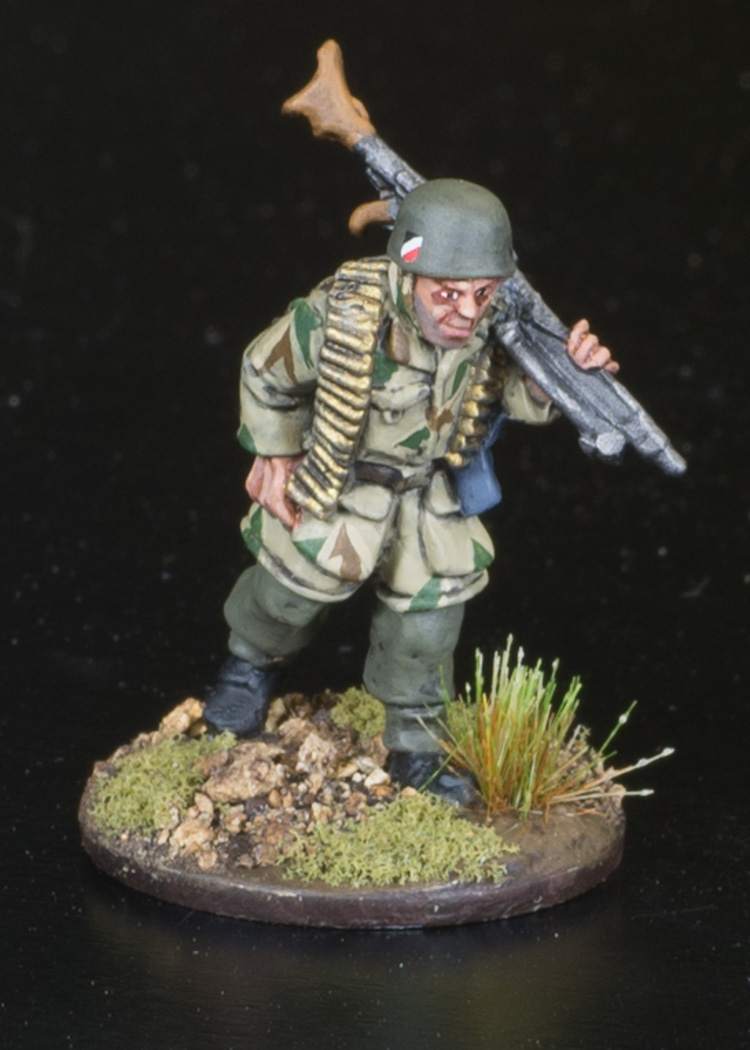
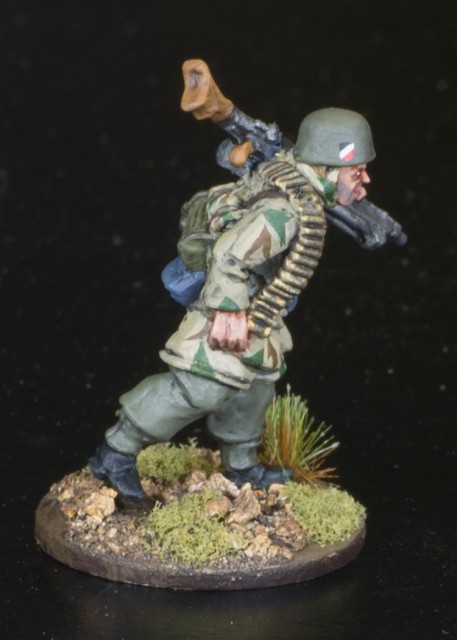
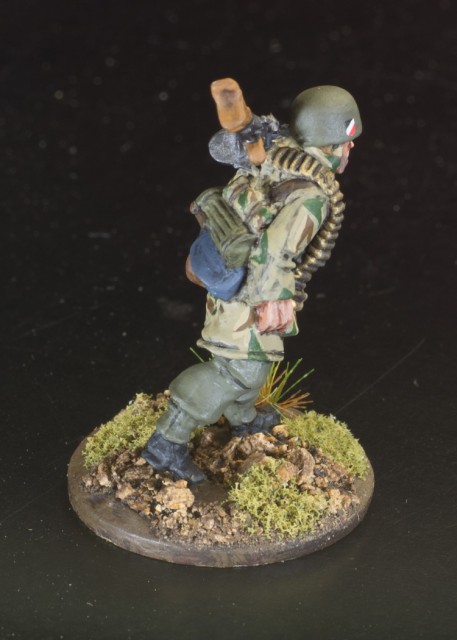
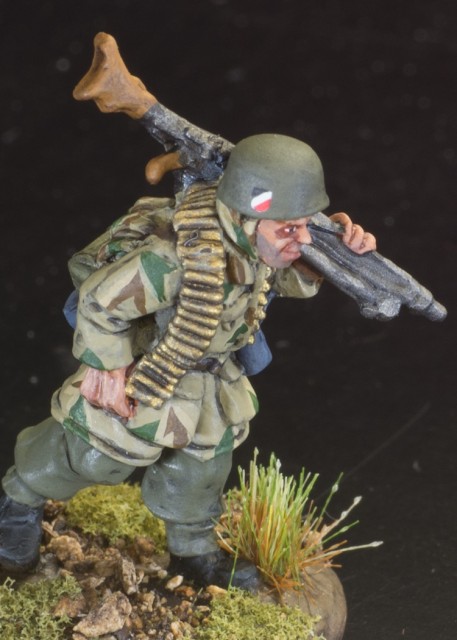
Finally something to see. Beautiful minis, paint not so good so far...
Even more
valhallagames
content!
Latest Podcast![]()
Latest Video![]()
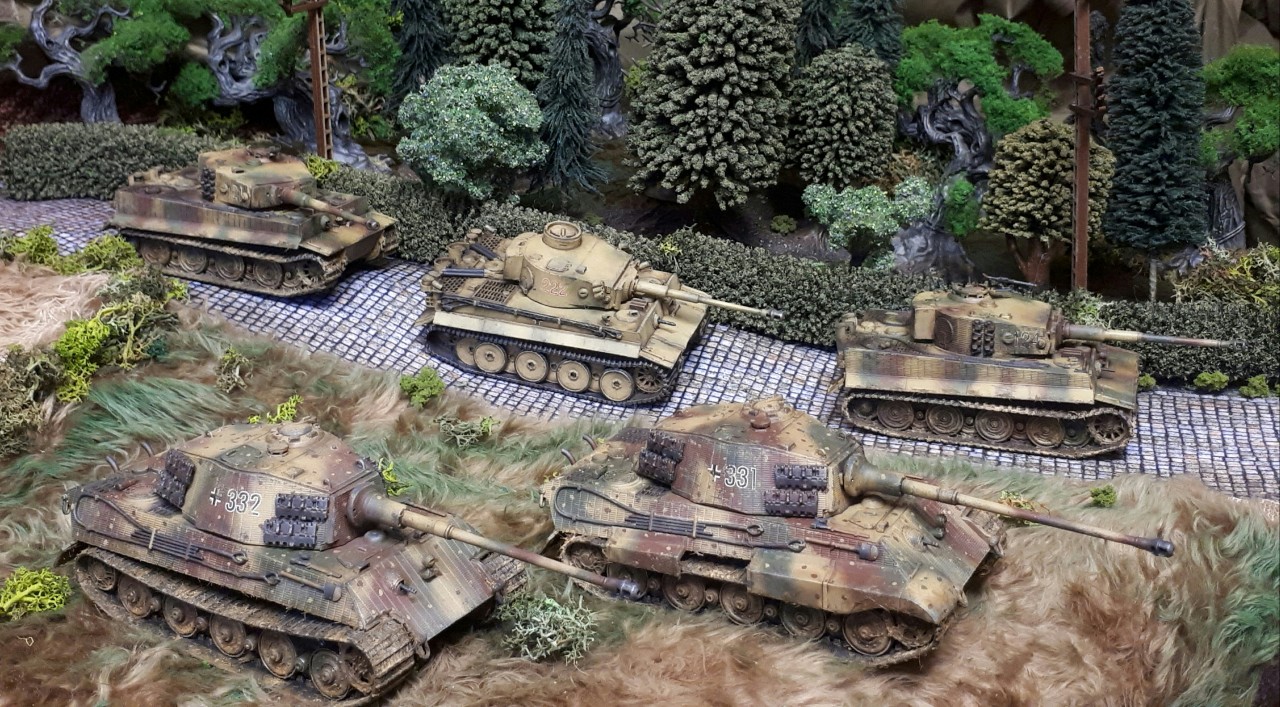
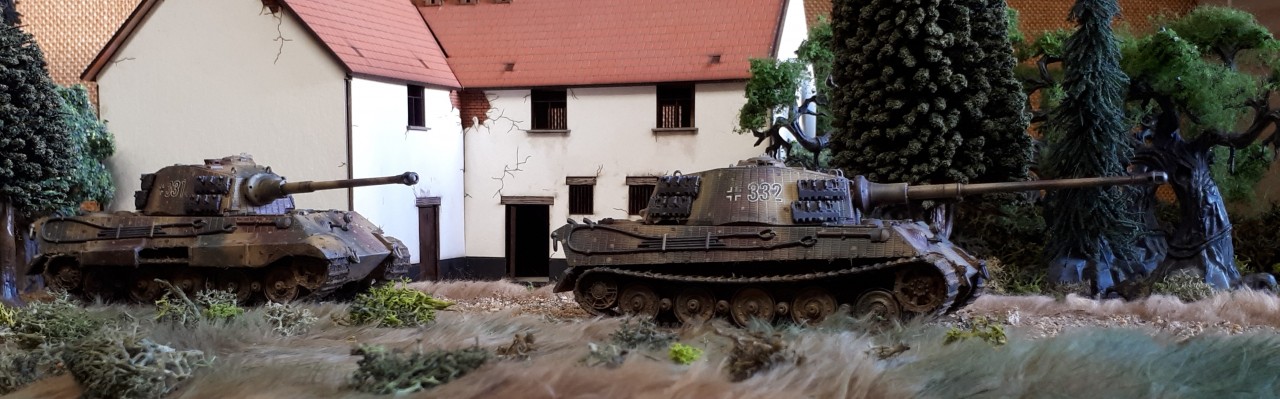
Finally had time to finish off a few details on a couple of the other Tiger 1's this weekend..and here they are in all their glory!!
For those of you playing along at home ( !) , I have just added the final reveal vid to our Youtube channel! The vid includes the promised painting recipes etc. as well, so pop over there and watch it if youre interested in these cats.
Hope youve enjoyed following along, and you enjoy the final products.
Im very happy, as I have vehicles here for Tunisia, Sicily, Italy, eastern front ( Including Kursk!) and western front including Normandy...and the Battle for Berlin right until the final days.
I think my year to dates painted model list looks very healthy now, and im intending to keep score until December 15th to make it a full years list.
DANS PAINTING SCORECARD 2019
Terrain;
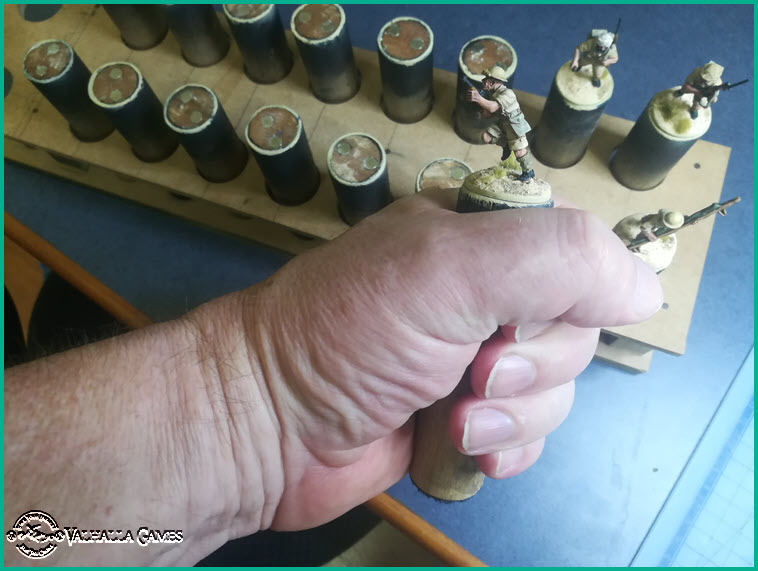
Spicy Spice-rack/shot-glass holder (also useful for painting miniatures)
A few people have asked after the last Valhallagames podcast on miniature painting workflow about my home made Spicy-Spice-rack/shot-glass holder (AKA miniatures painting holder). Here are couple of quick photos.
Note the rare earth magnets glued into the 25mm dowel. I glue my minis on steel washers, (now you know why). But the other end of the dowel has a 25mm Velcro "dot" so if I do have minis on plastic [only] bases I can still work with those by adding another valcro dot to the bottom of the mini.
Listen to the podcast for the full detail if you are interested. Hope that's useful.

3 days before my end of march "reasonable hobby challenge' Deadline ...may i present 139.6 Tonnes of cricket-crushing goodness (!!)
I really enjoyed these. I will be posting a "Big Tiger Build' update on youtube at the end of next week to bring you all up to date with the other vehicles in the build. In the meantime; hope you like 'em!!
With 3 minutes to spare (based on Australian time) I have [mostly] finished my "reasonable hobby goal".
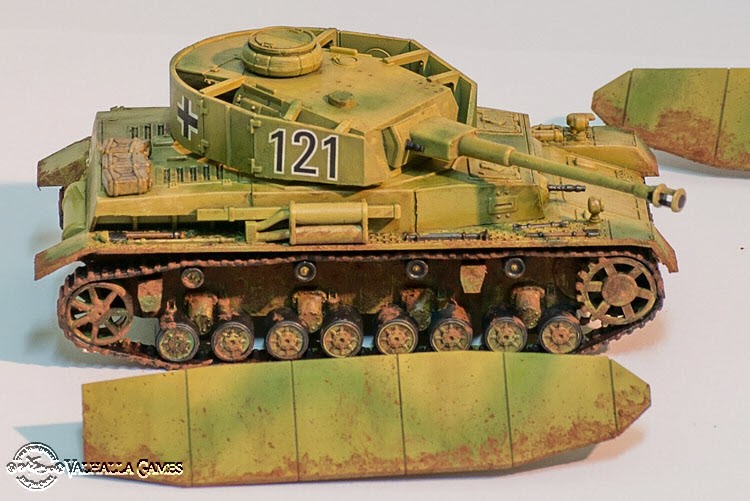
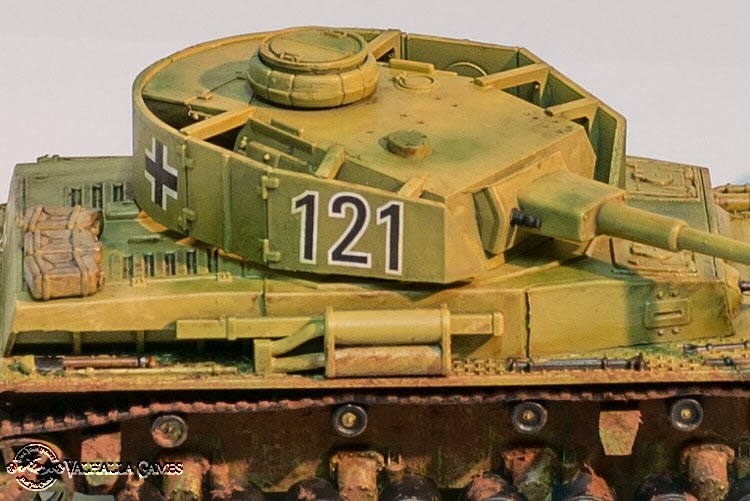
This is the first vehicle weathering that I have ever done and Dan has rightly identified that I was procrastinating. In the last podcast Dan challenged me to have it finished by 17 March the results are below. First time with oil panel tinting, weathering, streaking, and pigments.
Details to follow but for now I hope you like it as much as I do.
Before and after:
As discussed in our last podcast [here], my project for 2020 (yes 2020 and I need to start now to make sure I gets done in time!) is a large number of some really nice scratch built Western France WWII buildings, however this technique would work for any era historical or fantasy. Before I clear the hobby desk for more pressing projects I wanted to share with you the small amount of progress I have made so far.
All the cool kids are making really nice buildings using clay over foam core that has been sculpted for the appropriate texture and I thought I would try may hand at that with/without subsequent duplication by casting in resin. To that end I have made a small test piece and explained the steps below.
Step I:
In the image below (1) I have rolled out some Das air dry clay to about 2mm thick and then stuck it to a scrap piece of foam core board with PVA glue.
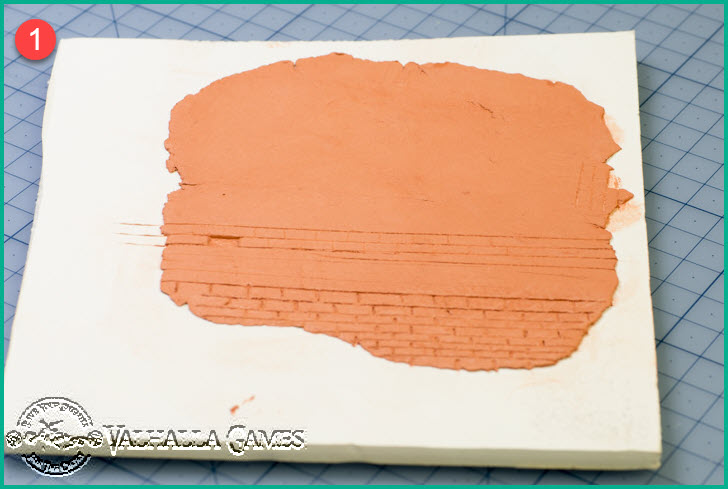
Thing I learned in step I:
- Use Das clay not the random stuff you find at you closest art or junk store. My non branded clay all cracked within 24 hours
- Don't use too much PVA "just in case". A thin, even smear holds a lot better then what you might think.
Step II:
I used two different methods of sculpting some rough bricks, I have heard that people use both methods. Method A (2 in the image below) was a very rough try with a wooden cooking skewer (essentially a large wooden toothpick) immediately while the clay was still wet. Method B (3 in the image below) after 24 hours the clay was very dry (it's hot here currently) and the light, somewhat pathetic, scratches were made with a light duty craft knife and metal ruler.
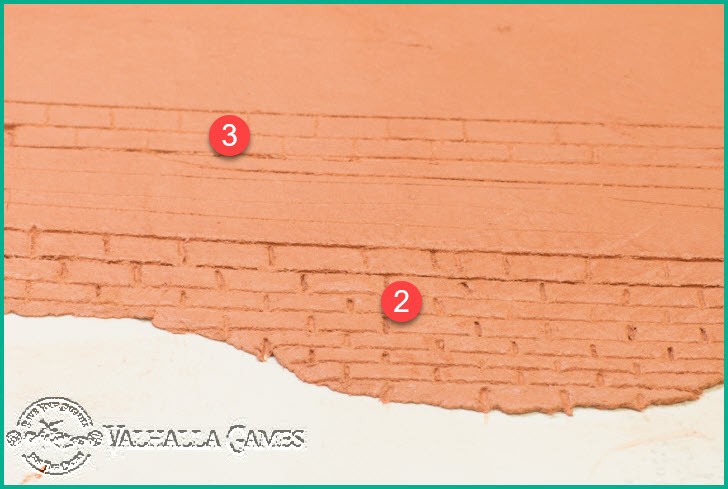
Things I learned in step II:
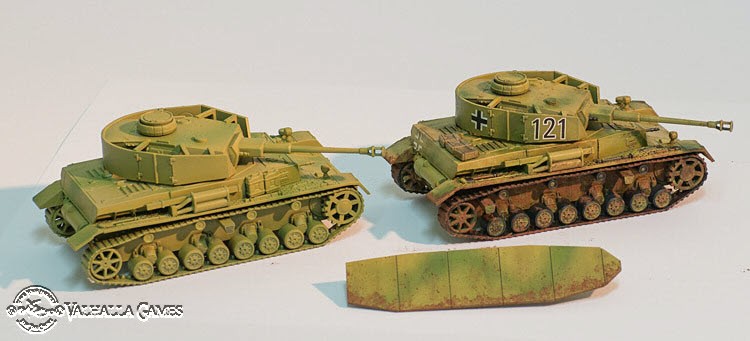
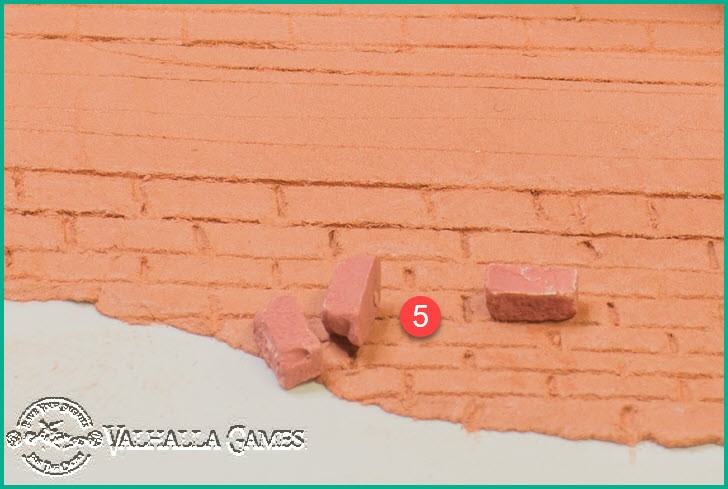
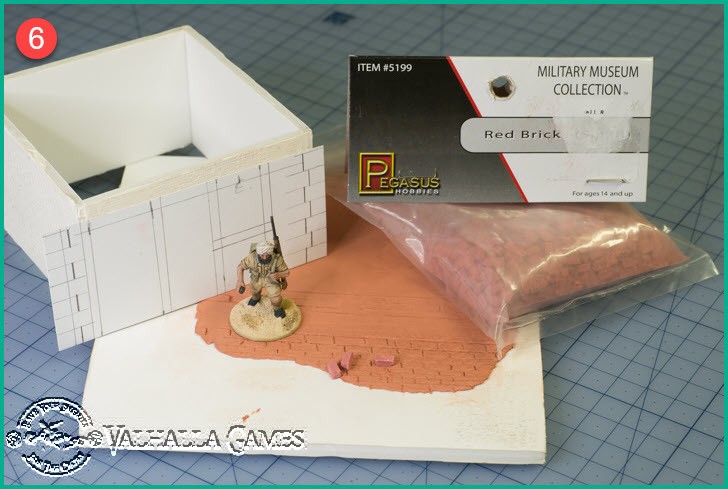
I made the brick engravings various sizes to try to work out what would look reasonable size-wise against the 28mm minis (not necessarily to scale). After thinking about final usage and working in with other configurations such as damaged walls with piles of bricks alongside I decided to purchase some precast bricks and look at what size they were. They have now arrived and a couple of sample bricks are shown in 4 and 5 below.

As a couple of final shots below show I have roughed up a design for single building frontage and compared everything to a 28mm Warlord games plastic miniature for scale.

This project is officially on the back burner now but it has been an encouraging start.
My reasonable hobby goal from the last podcast (here) was to weather & complete my Panzer IV tank by 17 March, may not seam like a big job but this is the first vehicle that I will have ever weathered with oils, and pigments so its a big jump off. So, with 12 days to go here is a picture of what I have achieved so far...

Comment (and subscribe to this post) below for updates.
In a fit of rage I went out and purchased a new camera lens, new tripod, tethering cable for shooting connected to the PC and a wireless shutter release. (well… its new to me anyway)
Below are the first couple of photos out of the new lens, I'm a lot happier with these than the results with my previous gear still a long way to go in terms of skill.
It does bring about another question though, how close is too close in miniature photography, for my minis if I go too close you start to see brush marks and dust (a surprising amount of dust!) and that actually detracts from the image. Perhaps its mini dioramas that are the next step, a small squad, a building and some trees all arranged nicely.
Perfect miniature photography may be like the perfect battle report, perhaps it doesn't exist?


So, almost midway in January....Rex and I can BOTH honestly say we haven't been in 'Hobby Hibernation'...Rather we have only just come up for Air!!
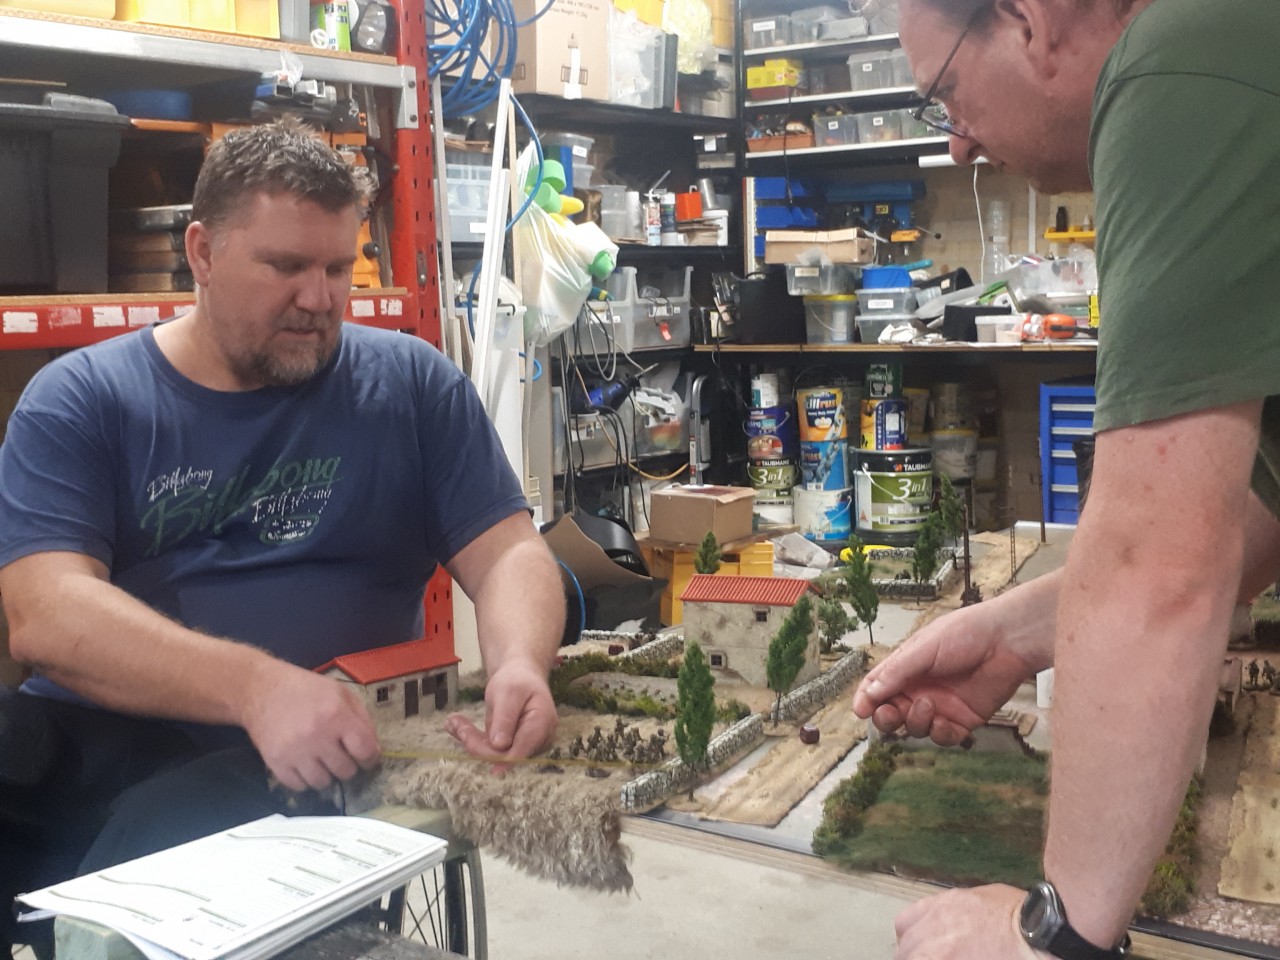
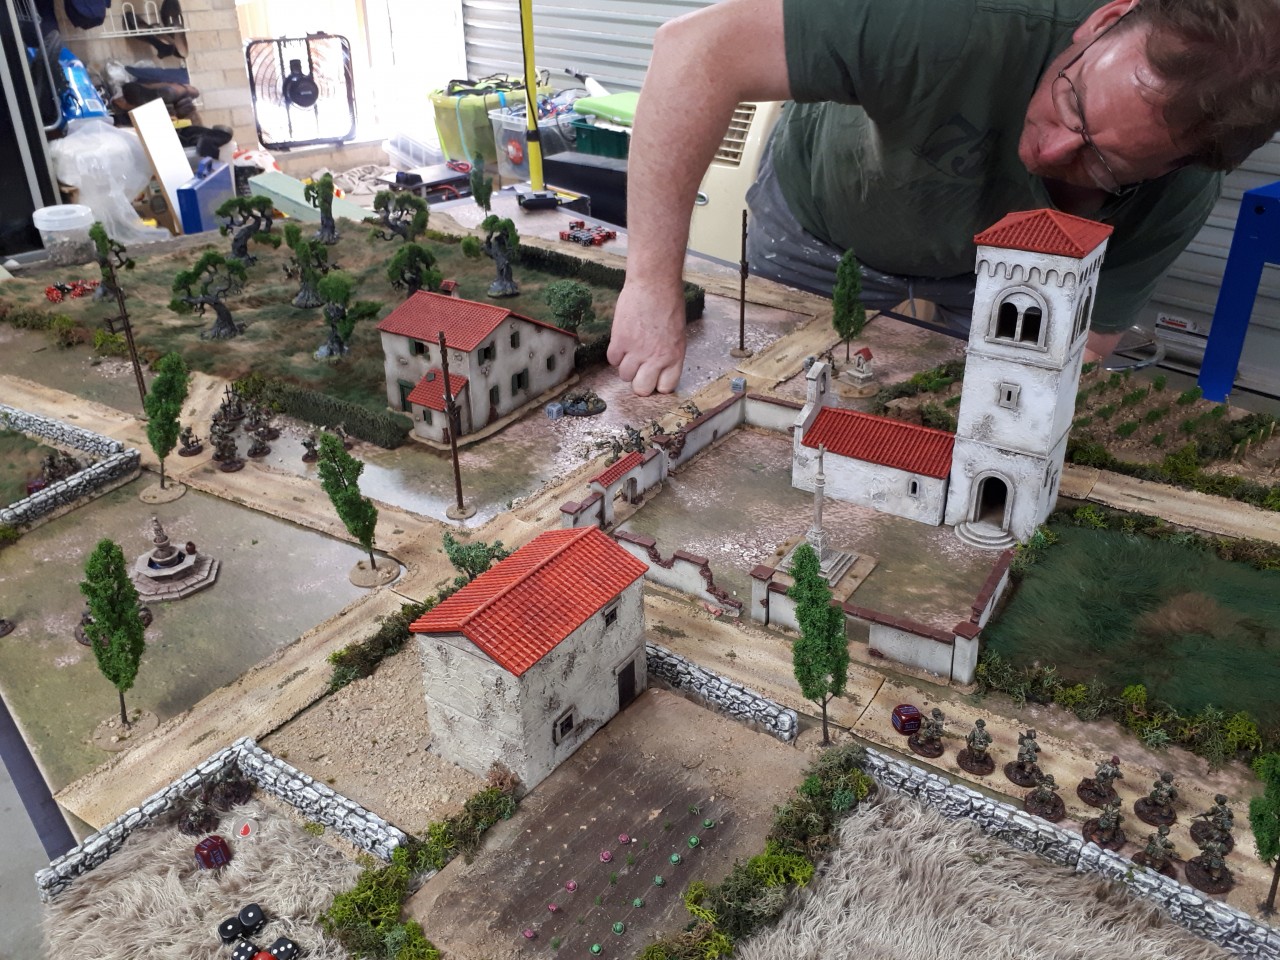
I spent 3 weeks at Rex's place in Australia with him and his lovely family. We do admit we were lucky enough to get some real hobby time in also; both playing some games ( and taking vids of some battle reports for our youtube channel , which are in post production now! ), and getting in some serious painting after hours too when all throughout the house, not a creature was stirring. Not even a mouse. Or a snake.
Rex had done a fantastic job of getting a new player into the game and excited, and it was a pleasure for me to meet Ash. as Rex played him in his first game, i had the job of advising Ash where required on tips for his first game. I must say- he didn't need much advising! apparently Ash plays a lot of tactical and strategy games online, and i believe chess too..it showed. He has a good mind for small unit tactics and will become a formidable opponent. He has a penchant for rolling 6s to hit too!!
Welcome indeed to the hobby, Ash. looking forward to playing you on my next visit and also seeing your armys progress as you build and paint it.
I have started my new year finishing off my tropical FJ and therefore clearing my desk. Athough im still in progress there, im already looking ahead to a new army, as you can check out on our youtube channel here;
I had a really enjoyable game of another game; Kings of War, with my nephew, Daniel. I really really enjoyed it and having both him and his dad (Rex ) explain it. You may not realise, but warhammer fantasy was a huge huge driver for me getting back into wargaming at the end of the 90's. I really missed fantasy armies ranked up majestically, and all the thought that goes into maneouver and the challenge of doing so in ranked units that Kings of war reminded me of.
Anyways, heres looking forward to another year of getting to share this hobby with you, hopefully a chance to share it with my son and friends of mine in Ireland.
Also, i get to share the hobby and creating our content on this site, our channel and podcast with my brother, Rex. I had a moment where i was being an intolerable cranky-ass off camera in one of our filmed battle reports that was initially crap, but after apologising (for that- AND the fact it was caused by my setting of a gruelling schedule of hobby prep and recording that made this self-inflicted!) it was a timely reminder of all the stuff in our podcast episode one of why i play wargames. That went on to be one of the most memorable games we've ever played...and we got it on camera for you to enjoy one day soon. hope we captured and bottled that feeling for you.
Happy new hobby year!
Painted Minis completed since Dec 15th, Dan;
28mm;
Terrain;
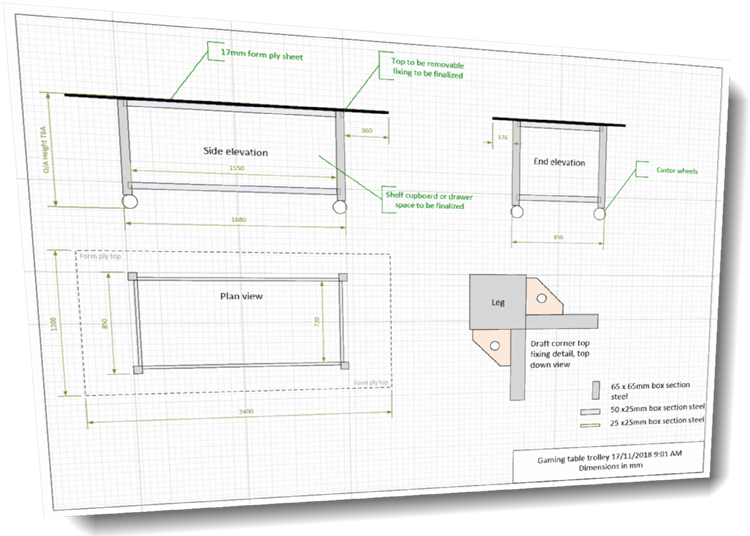
Gaming table phase 2. It begins with detailed panning and military precision, subscribe to this post for all the excitement, photos and progress report (not really excitement). Its my goal to progress quickly to a good result so I can move on to the next terrain project.) Materials have been purchased the opp is a go.
[Check the comments for progress photos]
Hi All. So it was a long weekend here in New Zealand with our Labour weekend holiday this weekend. However; i spent a day and a half moving out of my current house...maybe ill share why in a week or so (!?!) but its because of working in a new location.
That has meant my stuff is all in boxes this week so no ability to paint as that will require tearing everything apart..but what i DID get done was assembling some stuff.
Continuing with the theme of Primosole bridge in Sicily for more Bolt action scenarios, of course the story doesn't finish with the airborne forces fighting each other...the final scenario will feature the Durham Light Infantry and supporting British armour. I had been thinking about this as we attended MOAB last month, and although one of the prizes left when it was my turn to choose a prize ( Thank you sponsors, Bryan and Andrew) was a Rubicon Sherman.. but i hadn't done my due diligence with research into which variant was present and yet something told me it wasn't the correct model i needed , so I put it back and got a fantastic Knights of Dice Jungle hut (MDF terrain) instead- thanks Viv & Team!
Anyway, my instincts were right, I needed the Mk3 ( diesel ) variant with small hatch & low bustle turret. These are the tanks that were used at the bridge by 3rd County of London Yeomanry ( 3 CLY- " The Sharpshooters") in the battle. Rubicon make just such a variant;
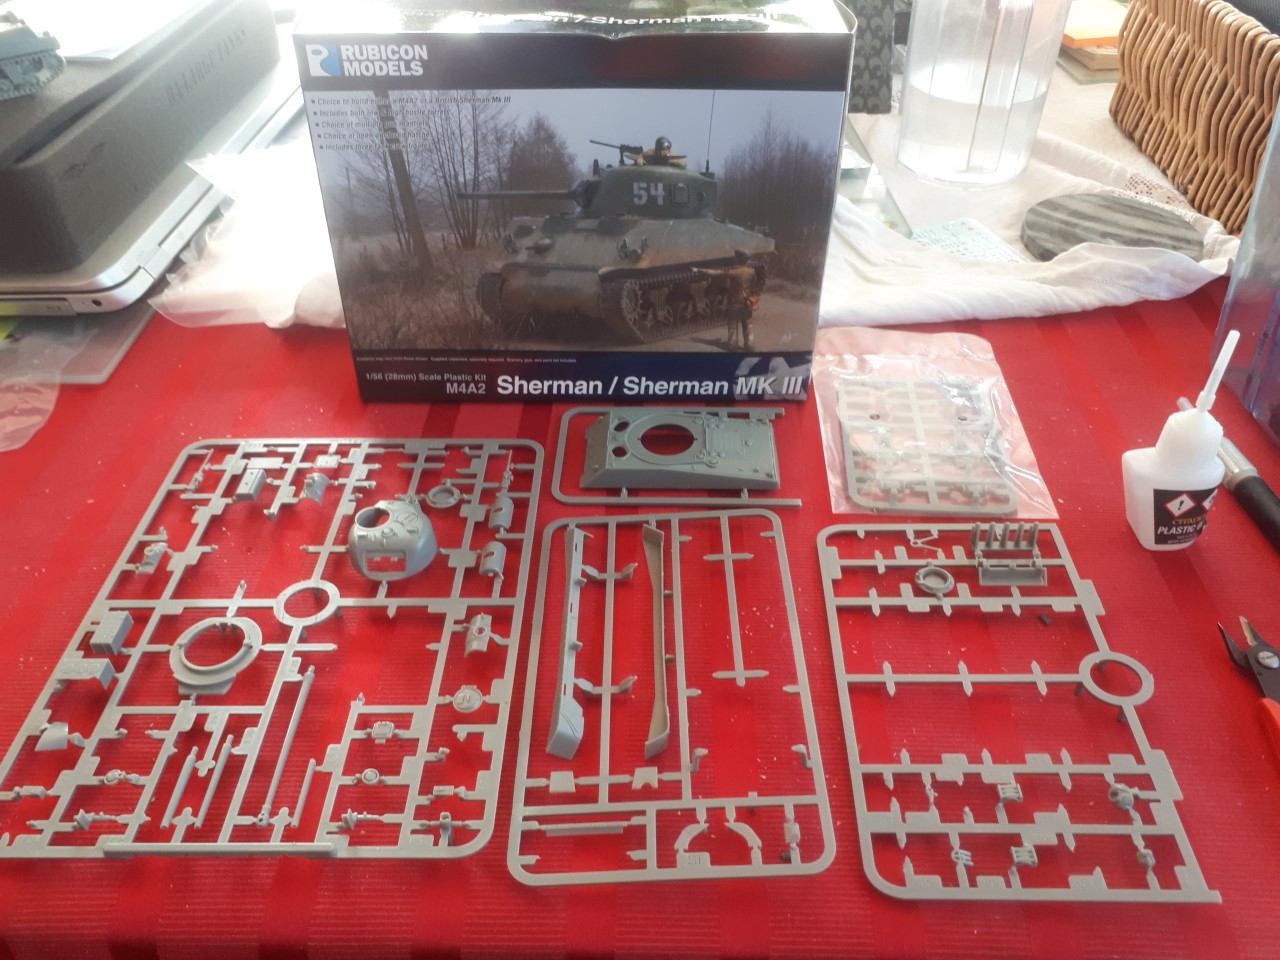
So, this is it! look at all those beautiful sprues...jam packed, right? NOPE!!!! Thats just the leftover bits after assembling the model i needed!!!! check this out;
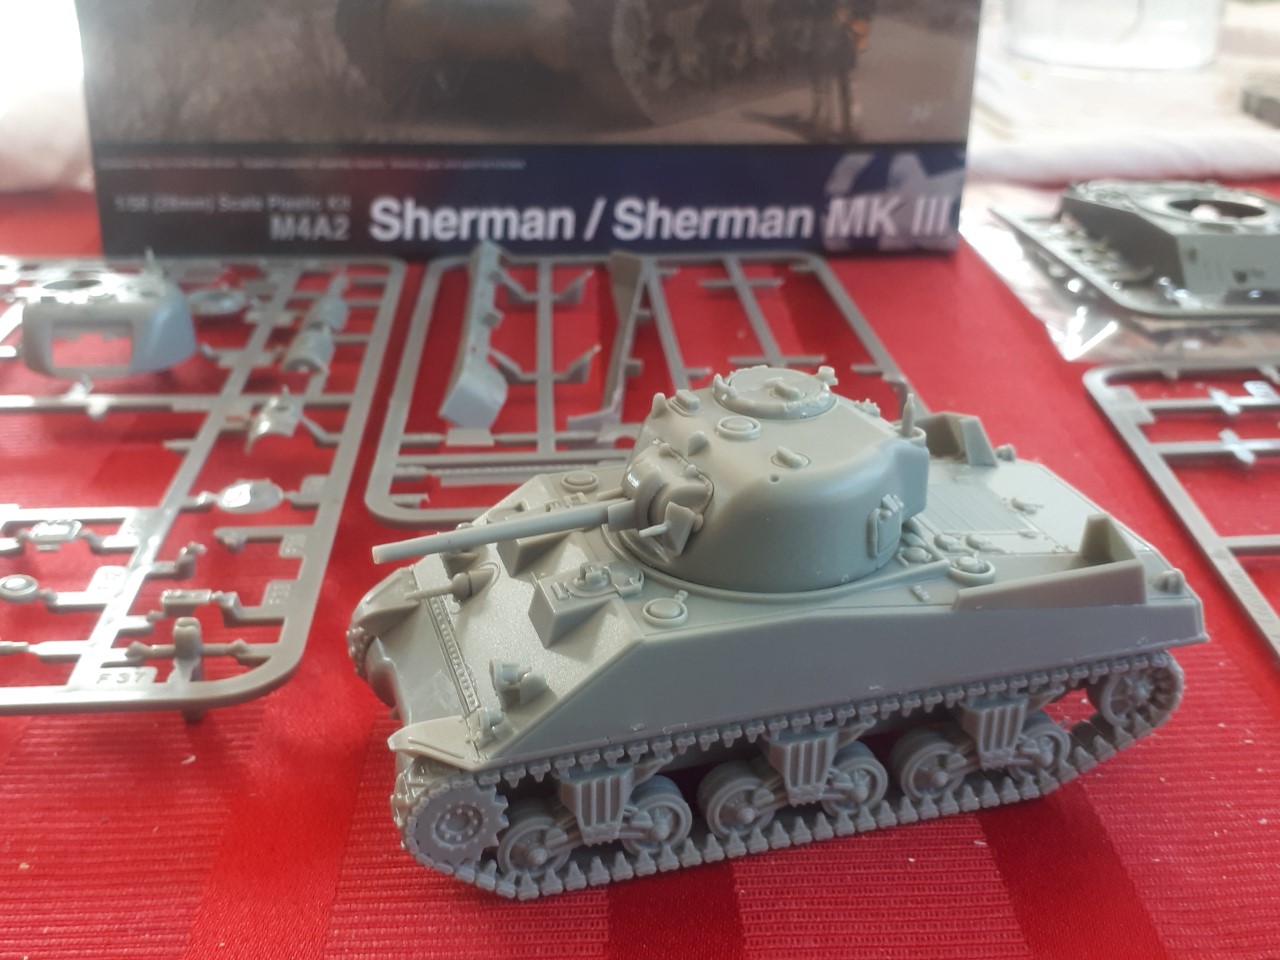
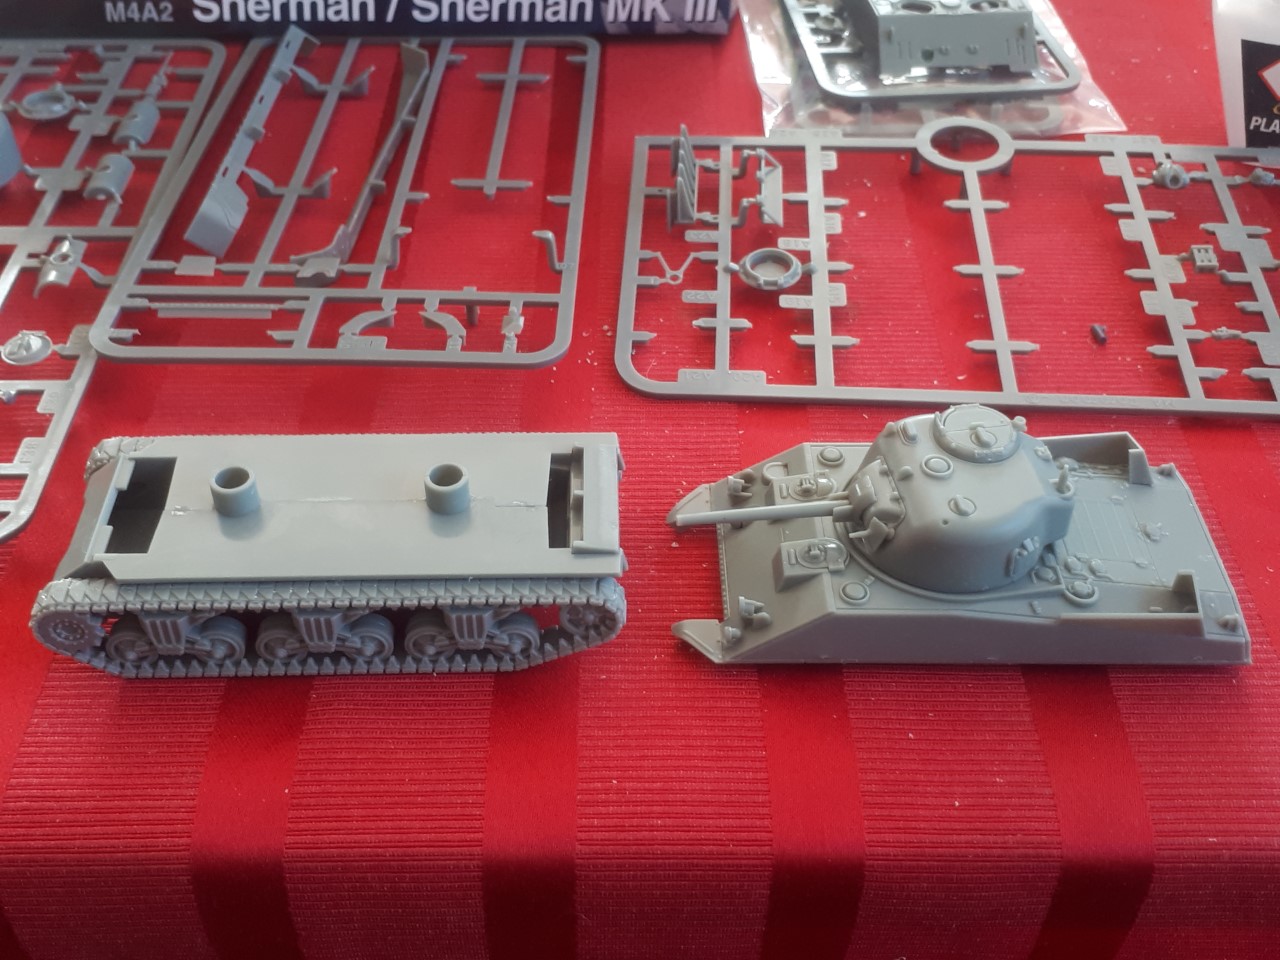
This taken into account i am REALLY impressed by the versatility of this kit!!! you can see all the same sprues in the background that were shown in the first pic- spare large hatch hull, high bustle turret and basically every main armament except the 75mm. By leaving the turret cupola unglued, and the upper hull just cliped into the lower hull, it opens the door to utilising these through being interchangeable..( although the colour schemes for the periods concerned will of course be various and undoubtedly different - but whos complaining here? Not me!!)
I have yet to get online and check whether the extra armour about the bow MMG and other hatch 'bulge/protrusion' were present at the time of sicily '43. but thats a 2 second add before final clean up and painting;
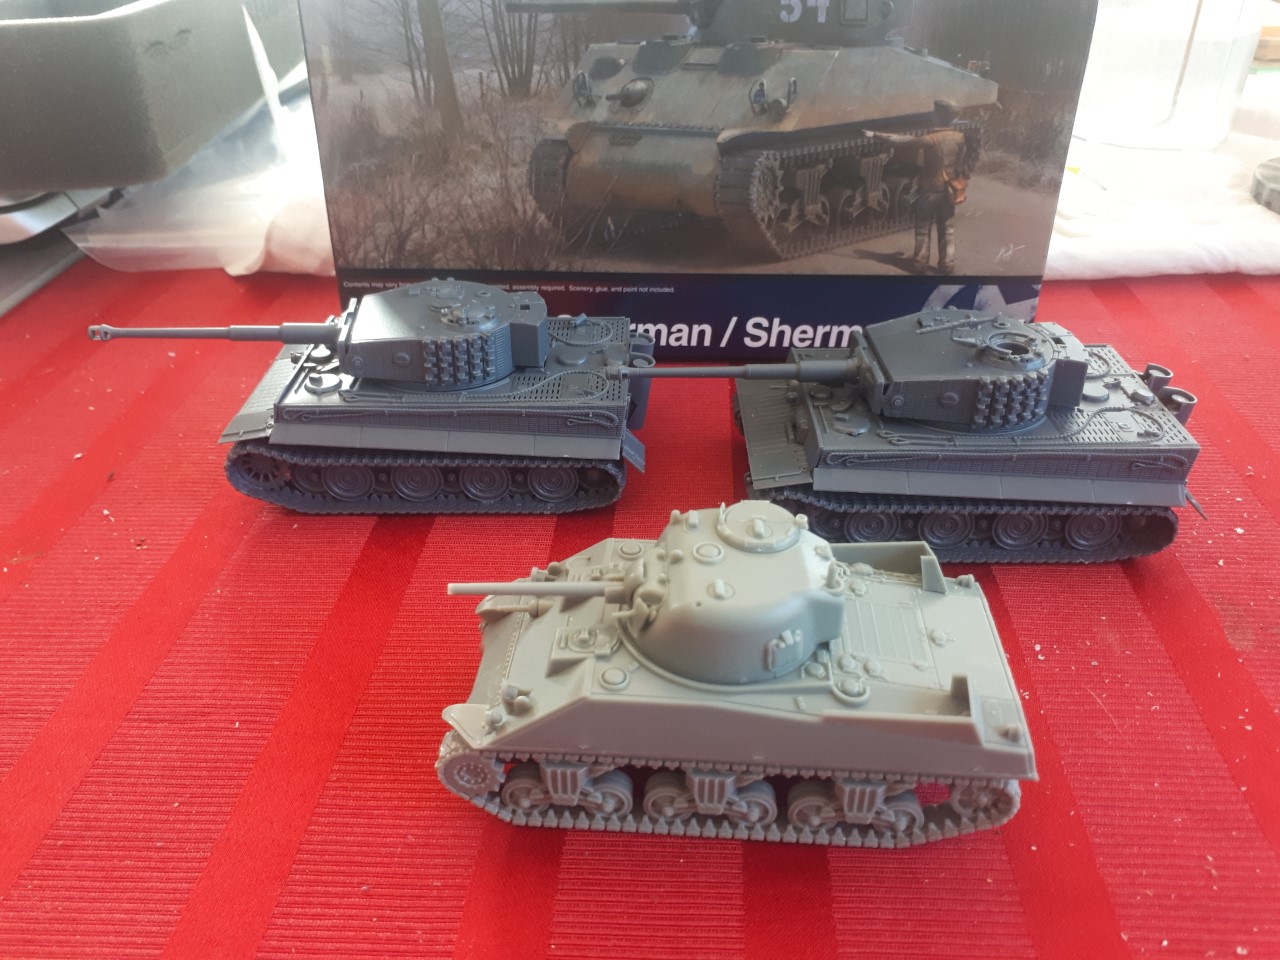
Here's the Sherman with the other two large things i knocked up this week...Why?!? because i reduced two boxes into the one carry case for tanks now for the move , haha! These two are the Warlord Tiger 1. Thoroughly enjoyed putting these together too. Note i have different things going on with the cupolas/pintle MMGs due to testing best ways for secure haulage to avoid breakages and also have 1 tank with a removable/interchangeable closed hatch and open hatch with panzer commander.
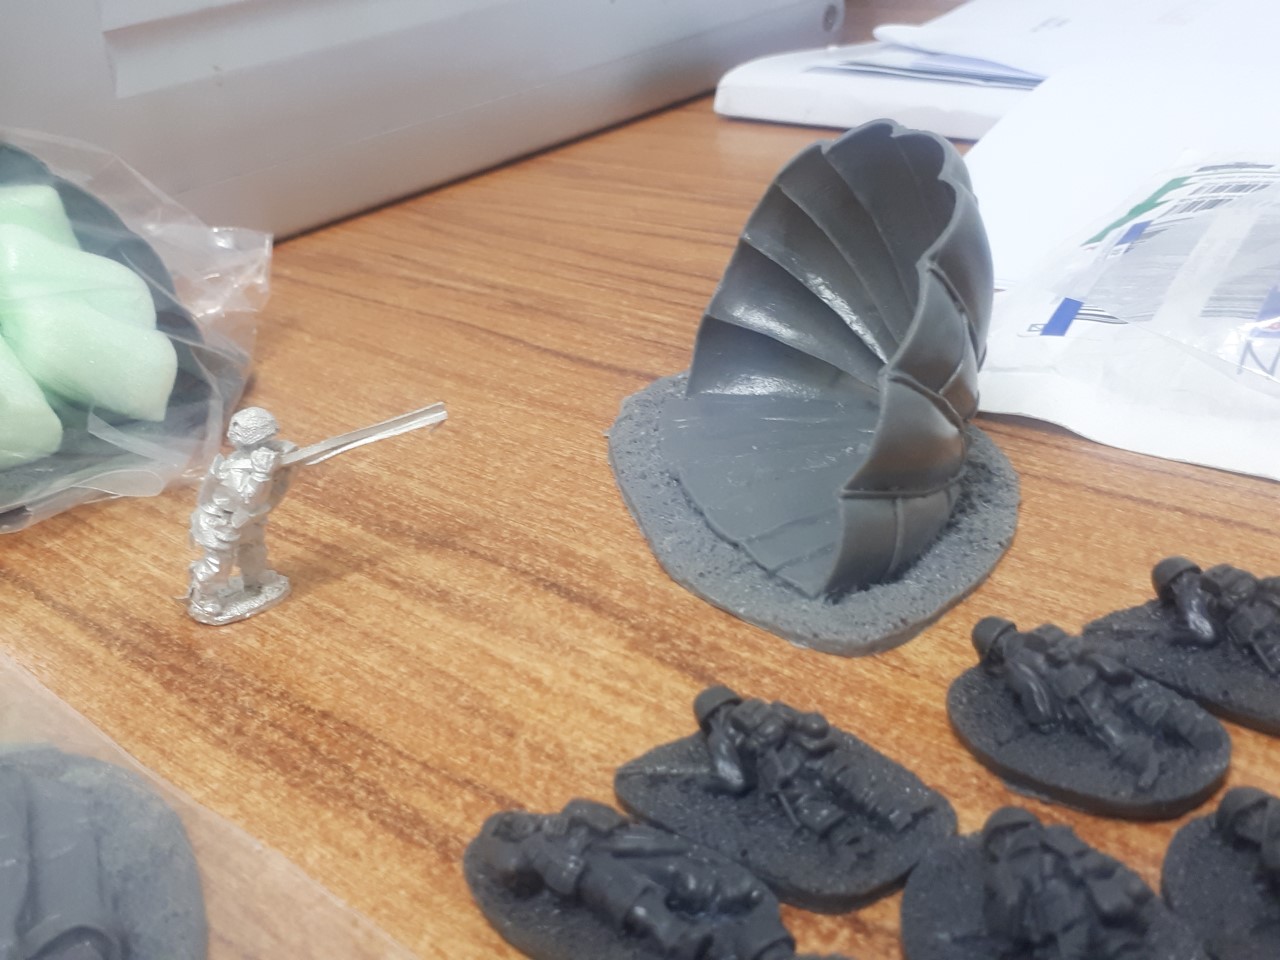
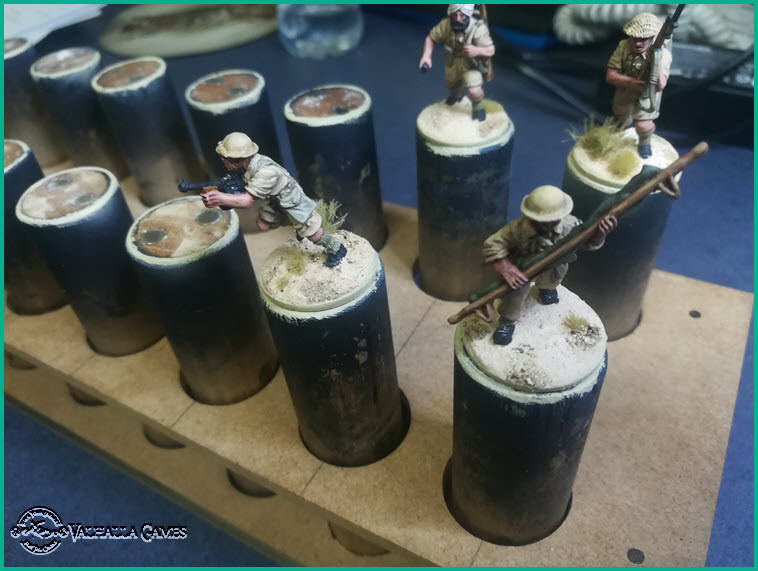
lastly, ive been scrubbing the resin release agent off these bad boys!!...FJR and Brit Airborne casualties, and collapsed parachute canopys...all ready to paint up in my new digs!!
Hope you all got something done this weekend..even if you didnt get a long one! :)
The latetst podcast episode is live now. This should appear in your podcast app if you have subscribed (Search for valhallagames podcast in your app) or you can listen on web player (link below).
Podcast EP24: A chat with Jon Russell.
In this bumper episode, we are joined by Jon Russell of Warlord Games fame. In addition to his dedicated work for Warlord, Jon is a multifaceted wargamer and also veteran of many years service.
In this episode we spend time learning about Jon's wargaming pedigree, before learning more about his role at Warlord, the writing of 'Bolt Action: Korea', and Jon shares with us what he can about what Bolt Action V3 might look like, and the 'Raiders Attack!' Supplement that still has much life left in it.
All this plus Warlord event support, balance in tournaments and other definitely non-controversial(!), highly entertaining and informative topics. Sit back and enjoy a chat with Jon, and us, we hope you enjoy it as much as we did.
Subscribe in your favourite podcast app (search for valhallagames) or click here to listen in the web player.
Don't forget to check out the YouTube channel at https://valhallagames.net/youtube
...and don't forget if you would like to support us https://valhallagames.net/patron